
What Soil To Use For Grading Around House? (Solved)

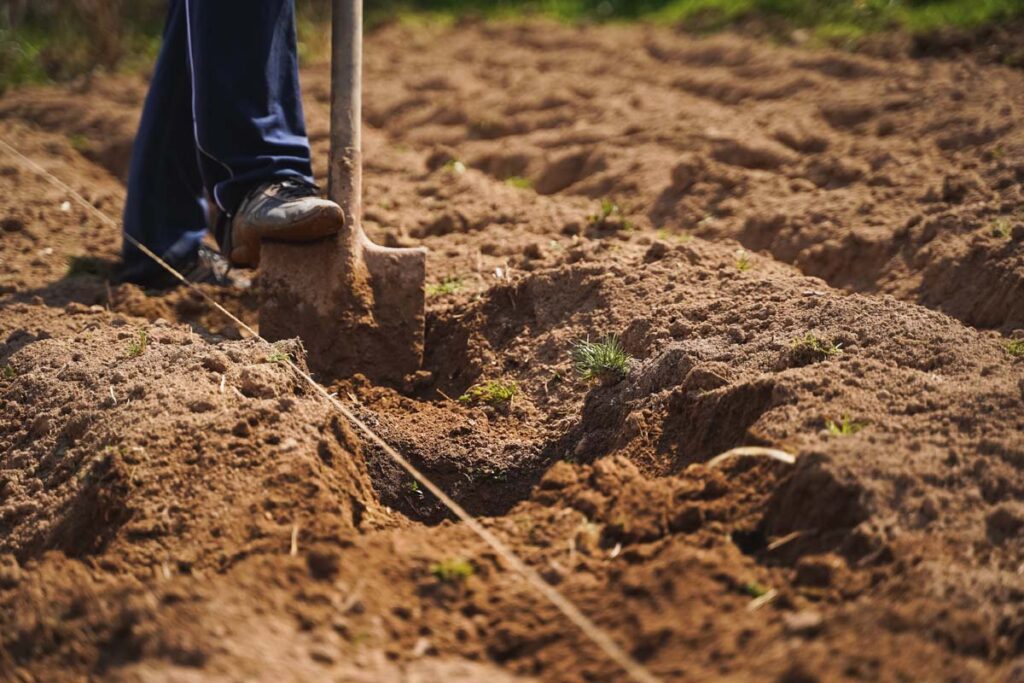
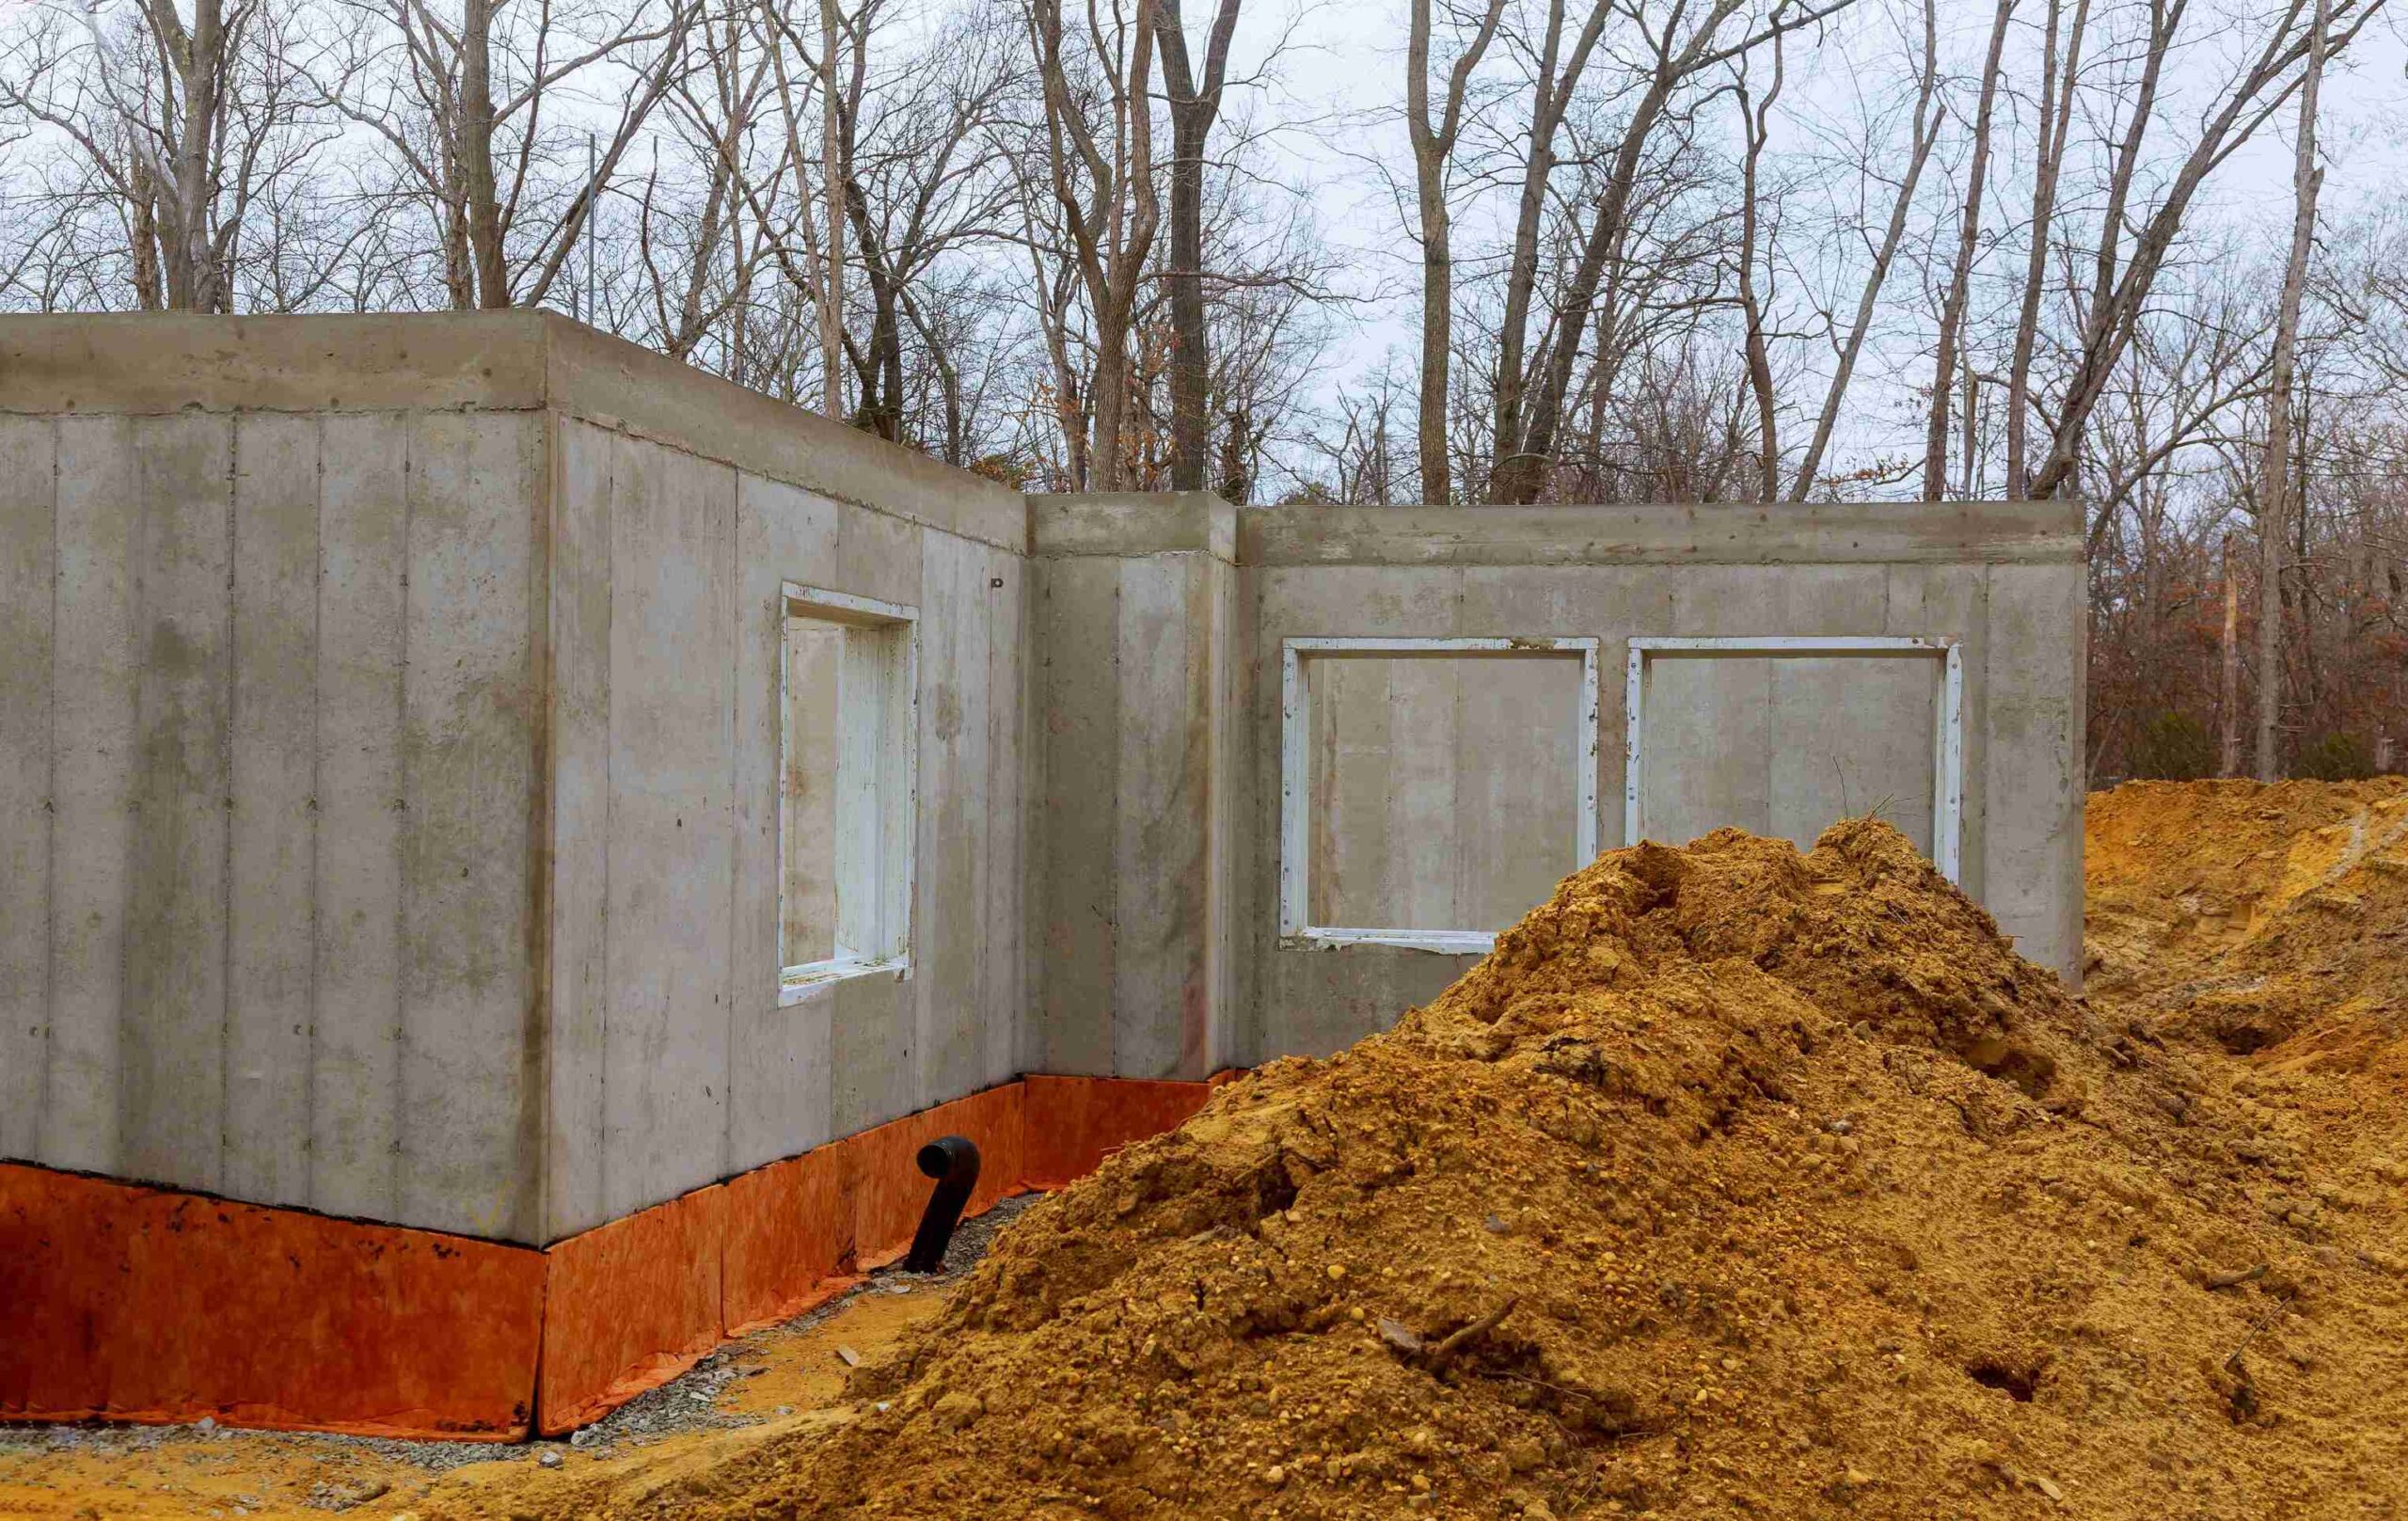
If you’ve noticed water pooling near your foundation, chances are your yard needs some grading.

It’s not the most glamorous project, but it makes a big difference in keeping water away from your house. And it all starts with using the right soil.

There’s a bit more to it than just tossing dirt around. Some soils are perfect for shaping and sloping, while others can create drainage problems, foundation damage, or constant rework.

In this post, we’ll shed some light on what soil to use for grading around house.

#1 Fill Dirt

Fill dirt should be your base layer. Think of it as the foundation before the foundation.

Fill dirt doesn’t have a lot of organic material in it, which is exactly what you want. That means it won’t settle or shift much over time. It’s solid, compact, and does its job.

This makes it perfect for getting a good solid base before you add other layers.

Use it to build up low spots or shape the slope away from your home.

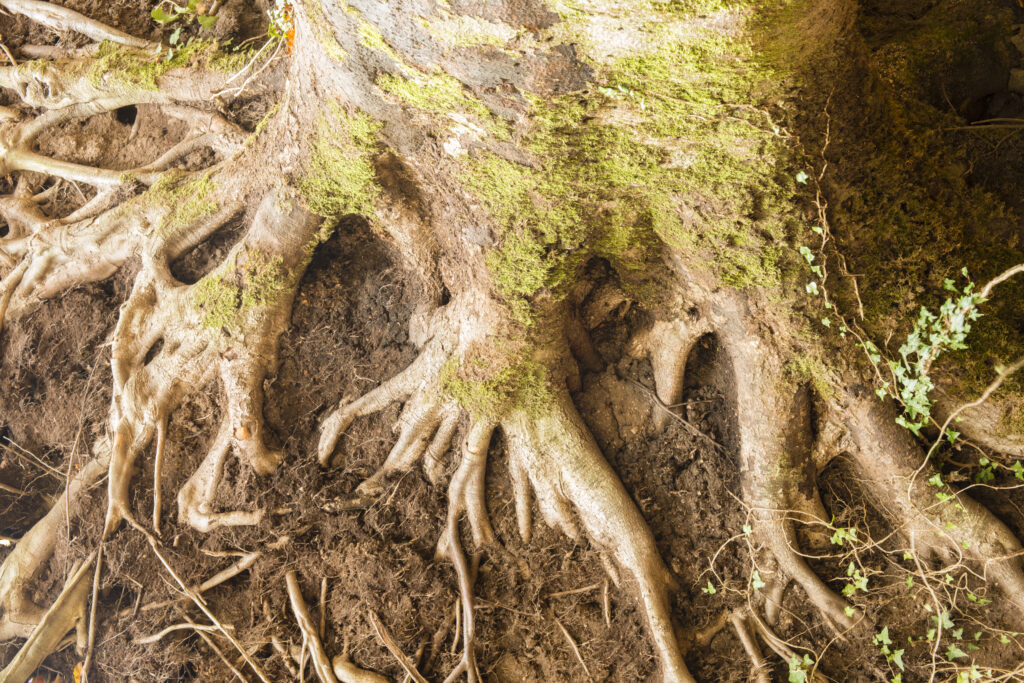
Just be sure it’s clean fill dirt – meaning no trash, no roots, no chunks of concrete or random junk. Some people try to save money by using whatever they can find, but that can cause more problems than it solves.

Soil Used For Grading Around House

Also Read: How Much Does A Soil Test Cost In Virginia?

#2 Loam

Loam is a nice blend of sand, silt, and a little clay. The texture is soft, but it holds its shape and drains well.

Loam’s biggest perk is how balanced it is. Not too dry, not too sticky, and great for supporting plants and grass once your grading is done.

Now, you wouldn’t want to use loam all the way through your grading project as it’s not stable enough to be the base, but it makes a great transition layer between your compact fill dirt and the top layer.

Plus, if you’re planning to lay down grass or do any landscaping, loam gives it a strong, healthy star

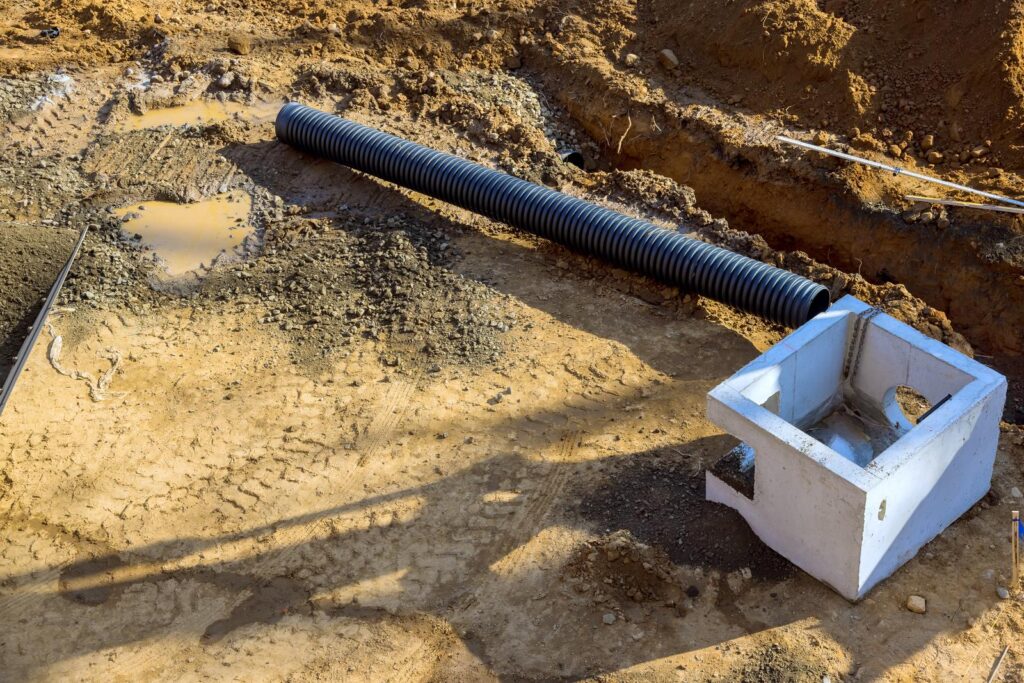
#3 Gravel Or Crushed Stone (For Drainage Layers)

This one’s not always necessary, but it can be helpful if drainage is an issue.

Adding a layer of gravel or crushed stone underneath or mixed into your fill can really help water move away from your home. It keeps water from pooling near your foundation, which is exactly what you’re trying to avoid.

Gravel works well in areas where water collects or where the ground just doesn’t drain easily.

Just don’t overdo it. Too much stone can make it tough to grow anything on top.

#4 Topsoil (For Final Layer)

Topsoil comes last. It’s the cherry on top of your grading project.

After you’ve shaped your grade with fill dirt and maybe a bit of loam, you’ll want to add a couple of inches of topsoil over the top.

This is what your grass will grow in. It’s rich in nutrients and easy to work with.

But here’s the catch – topsoil isn’t stable. You don’t want to build your whole slope out of it. That’s asking for sinking, settling, and a bunch of rework later.

Use just enough to get a good seed bed and help prevent erosion.

A nice, even layer about 2 to 6 inches thick should do the trick.

Also Read: Can I Cover My Septic Tank Lid?

Soil Types To Avoid For Grading

It’s just as important to know what not to use as it is to know what’s good. Some soils are just plain trouble when it comes to grading. Here’s a quick list of the ones to skip:

Expansive Clay Soils

Expansive clay is a big no-no. This type of soil swells when it gets wet and shrinks when it dries.

Imagine that happening around your foundation!

It can cause the ground to shift, which isn’t something you want happening near the walls of your house. Over time, this could lead to cracks or settling issues in your foundation.

It also drains slowly, which means water can sit near your house longer than it should.

If you’ve ever dug into clay and found a soggy mess days after it rained, you know what we’re talking about.

Soil Types To Avoid For Grading

Peat Or High-Organic Soils

Peat and high-organic soils are typically too loose and spongy for grading. Sure, they’re great for gardening and can hold a ton of moisture, but they don’t provide the stability needed for grading.

Over time, these soils break down and lose their structure, which can create uneven areas around your house.

That could result in water pooling near your foundation – exactly what you’re trying to avoid.

Unscreened Fill With Debris

You might think that using a bunch of leftover dirt from somewhere else could save you a few bucks. But, trust us, unscreened fill with debris is a headache waiting to happen.

It could contain rocks, roots, garbage, or other materials that make it difficult to compact properly. This could lead to an unstable surface and uneven settling later.

It’s just not worth the trouble.

If you want a solid foundation for grading, stick with quality materials.

Bagged Topsoil

Bagged topsoil might seem like a convenient option. It’s tidy, easy to handle, and you can pick it up at almost any store. But it’s not built for grading.

Most of what you find in those bags is full of compost or organic matter meant to help plants grow – not to build a slope.

Over time, that organic stuff breaks down and causes the soil to shrink or settle. You could end up regrading the same area over and over. On top of that, using bagged topsoil in bulk gets expensive fast.

Use it in gardens or flower beds, but leave it out of your grading plan.

Also Read: How Much Does It Cost To Pump A Septic Tank In Virginia

Gardening Mixes With Peat Or Mulch

If it says “potting mix” or “garden soil,” skip it for grading.

Gardening mixes that contain peat or mulch are best for flower beds or potted plants, not for grading. These blends are designed to hold water and stay fluffy. That’s the opposite of what you want near your house.

Plus they don’t compact well and don’t drain efficiently either.

Great for plants. Terrible for slope control.

Over time, they break down and settle, which can lead to erosion or uneven ground.

Bottom Line

Grading around your house might sound like a lot of work, but it’s totally worth it.

Use fill dirt to shape the slope, add loam if you want something plant-friendly, and finish off with a layer of topsoil. If drainage is tricky, toss in some gravel underneath.

Stick to these solid, compactable materials and stay far away from anything that holds water, breaks down, or contains random junk.

A little planning now can save you from soggy basements and cracked foundations later.

How Much Does A Septic System Cost In Virginia?

Thinking about getting a septic system for your Virginia home? 

Or maybe you need to replace an old one? 

Either way, you’re probably wondering how much it’s going to cost you. 

Well, the truth is, there’s no one-size-fits-all answer. The price can vary quite a bit depending on a bunch of different factors. 

In this post, we’ll go over the costs of septic systems in Virginia and walk you through all the things that can affect the price tag. Plus, we’ll also break down our septic tank installation prices.

Average Septic System Costs

The average cost of a new septic system in Virginia is around $3500 – $20,000 depending on the type of septic system you install.

Here’s a breakdown of the most common types and what you can expect to spend:

Anaerobic Septic Tank Systems

These are the tried-and-true, traditional septic systems.

It’s also the common type of septic system you’ll see in Virginia. 

They’re usually the cheapest option, costing between $3,500 and $8,500 for the whole setup. 

This price includes the tank itself (which runs about $1,000 to $1,500 for a 1,000-gallon tank), plus all the other bits and pieces like the distribution box, the work to get your yard ready and install everything, and all the permits and inspections you need.

Alternative Septic Systems

Sometimes, basic septic systems just won’t cut it. If your soil conditions are less-than-ideal or if you’re dealing with tricky drainage issues, you might need an alternative system

These can cost anywhere from $4,000 to $15,000 in Virginia, depending on what you choose. 

There are chambered systems that use buried plastic chambers (good for areas with high groundwater), constructed wetland systems that use nature to filter waste, and others like drip distribution and evapotranspiration systems. 

The price really depends on how complicated the installation is and what your property needs.

Engineered Septic Systems

For the trickiest situations – like if your soil is really bad or you don’t have much space – you might need an engineered septic system. 

These are the most complex and expensive, running from $7,000 to $20,000 in Virginia. 

We’re talking about things like aerobic treatment units that add oxygen to the wastewater, mound systems for shallow soil, and recirculating sand filter systems. 

They cost more upfront, but they can work better and last longer in tough conditions.

Our Septic System Prices

Septic System Cost In Virginia Septic Tank Installation

Our septic system prices range from $15,000 to $150,000, depending on what you need.    

  • Gravity Conventional Systems: These typically run between $15,000 and $25,000, depending on how big the system needs to be and the soil conditions.
  • Engineered Systems: These start at $35,000, but can go higher depending on things like tank size, location, number of bedrooms, and soil conditions.

Every property is different, so the best way to get an accurate price is to give us a call.

Factors That Affect Septic System Costs In Virginia

Now that you got and idea of how much a septic systems costs in Virginia, let’s take a look at the factors that will affect the exact price of installing a system:

#1 Size Of The Property And Household 

If you have a big property or a large household, it’s going to cost you more.

Bigger houses with more bedrooms and people need bigger tanks and larger drain fields to handle all the wastewater. 

A small family in a two-bedroom house might be fine with a 750-gallon tank, but a larger family in a five-bedroom home could need a 1,500-gallon tank or even bigger. 

Remember, the bigger the system, the more you’ll pay for materials and installation.

#2 Type Of Soil And Ground Conditions

The soil on your property is a big deal when it comes to septic system costs. 

Virginia has all kinds of soil, and not all of it is great for septic systems. 

If you’ve got soil that’s too clay-like or really rocky, you might need to go for a more advanced system that can handle these conditions. These systems work better in these conditions, but they also cost more. 

Sometimes, you might even need to bring in better soil, which adds to the expense.

The site’s drainage is also important —if the ground doesn’t absorb water well, your system could require modifications.

#3 Tank Material

The material your septic tank is made from can also affect the price. 

In Virginia, concrete tanks are pretty standard and are very popular. They’re more expensive, usually $1,000 to $3,000, but they last a long time. 

Plastic tanks are cheaper, around $700 to $2,500, and easier to install, but they don’t work well in all soil types. Fiberglass tanks are in the middle, costing about $1,400 to $2,000. 

These materials are often lighter and easier to install, but won’t last as long as concrete.

#4 Site Preparation And Labor

Septic System Cost In Virginia Installation Process And Materials

Getting your property ready for a septic system can be a big part of the cost, especially in Virginia where the land can be pretty varied. 

The more complicated the prep work, the more you’ll end up paying.

If your property is hilly or has lots of rocks or trees in the way, it’ll take more work to prepare the site. This might mean using heavy equipment to level the ground or remove obstacles. 

Labor costs for installation usually run between $1,500 – $4,000. 

This prep work can add up quickly, so don’t forget to factor it in when budgeting.

#5 Permits, Inspections And Regulations

Virginia has strict rules about septic systems to protect public health and the environment. 

You’ll need permits and inspections, which add about $1,000 to $2,000 to your total cost. 

This includes permits for the tank and drain field, plus soil testing to make sure your property can handle a septic system.

This might seem like an annoying added expense, but it’s there to make sure everything is safe, up to code and works properly in the long run.

#6 Age And Condition Of The Existing System

If you’re replacing an old septic system, its condition can impact your costs. 

A really deteriorated system might need to be completely removed, and the surrounding soil might need cleanup. This adds to your bill. 

But if parts of your old system are still good, you might be able to reuse them and save money. 

Having a professional inspect your existing system can give you a better idea of what needs to be done and how much it’ll cost.

#7 Location And Accessibility

Where you are in Virginia affects your septic system costs because labor rates and transportation costs for materials and equipment vary across the state. 

It also matters how easy it is to get to the spot on your property where the system will go. 

The further your site is from main roads, or the harder it is to reach (think steep driveways or narrow pathways), the more expensive the installation will be. 

Some places might even require special equipment or more time to complete the job. 

Additional Costs To Consider

Don’t forget about ongoing costs after you get your system installed. 

You should have it inspected every year, which usually costs $150 to $450. You’ll also need to get it pumped every 3-5 years, which runs $300 to $700. 

It’s smart to set aside some money for repairs too, which can cost anywhere from $600 to $3,000 depending on what’s wrong.

Bottom Line

Getting a new septic system or replacing an old one in Virginia is a big deal, money-wise. 

You’re looking at spending anywhere from $3,500 to $20,000 or more. 

The price range is so wide because there are so many things that can affect the cost – what kind of system you need, what your property is like, and what the rules are in your area. 

It might be tempting to go for the cheapest option, but it’s really important to choose a system that’s right for your situation and follows all the local rules.

Copper Sulfate For Septic Tanks (Not Recommended)

Got septic tank troubles? If you’ve been researching solutions, you’ve probably come across copper sulfate as a potential fix.

After all, it sounds simple enough – just pour it in and your problems disappear, right?

Well, not so fast. Before you head to the store to grab some copper sulfate, there’s a lot you should know about this controversial treatment.

In this post, I’ll explain why and how people use copper sulfate for septic tanks, and why we don’t recommend using it. Plus, I’ll show you what you can do instead.

What Is Copper Sulfate Used For In Septic Tanks?

People use copper sulfate in septic systems for two things. 

First, they use it to control algae that can build up in drain fields or effluent. This algae can collect in the soil, pipes, and drains, which might mess with proper drainage. 

Second, people use it to deal with tree roots. These roots can work their way into pipes, creating blockages and damaging the system. 

Copper sulfate is very effective at killing both the algae and roots – but there’s more to the story.

Also Read: Is RID-X Safe For Septic Systems?

How To Use Copper Sulfate For Septic Tanks

Man Digging Soil, Land With Shovel, Making Garden Beds For Spring Planting Of Potatoes. Good Harvest. Family Farming, Self Cultivation Of Healthy, Natural Eco Friendly Bio Food,vegetables.countryside
Man digging soil, land with shovel, making garden beds for spring planting of potatoes. Good harvest. Family farming, self cultivation of healthy, natural eco friendly bio food,vegetables.Countryside.

Now, I want to be clear – while I’m going to explain how people use copper sulfate, this isn’t me recommending it.

But if you’re curious about the process, here’s what you should know: 

The traditional recommendation is to use two pounds of copper sulfate for every 300 gallons of septic tank capacity, usually twice a year, depending on how severe your root problem is.

Some people pour it straight into the toilet, but that’s not great because the copper sulfate might just sit in the tank instead of getting to the leach field where it needs to work. 

A better way is to put it directly in the distribution box or leach lines, where it can actually reach the roots.

If you can’t get to the distribution box, you can flush small amounts – about half a cup – down the toilet over time so it eventually makes its way to the leach field. 

The best time to apply it would be late in the evening when there’s less water being used, giving it more time to work before getting diluted.

Why We Don’t Recommend Copper Sulfate For Septic Tanks

Here are 3 reasons why you shouldn’t be using copper sulfate:

#1 Harms Bacteria

This is probably the biggest reason why we advise against using copper sulfate

Your septic system depends on healthy bacteria to break down waste. Copper sulfate is toxic to these important microorganisms, and using it can mess up the natural processes happening in your septic system. 

Also Read: Is Dawn Dish Soap Safe For Septic Systems?

You might not see immediate problems when using the recommended amounts, but over time it can really disrupt your septic system’s natural processes.

And using too much or using it incorrectly can lead to even serious issues.

Over time our system might not treat waste as well, things could get clogged, and eventually, the whole system might stop working.

#2 Environmental Concerns

There’s another big issue with copper sulfate – it’s not good for the environment.

When you use copper sulfate in your septic system, it doesn’t just disappear. It can build up in the surrounding soil and get into the groundwater.

This isn’t just a minor concern – it can harm your local ecosystems and aquatic life.

These environmental effects can last a long time, making copper sulfate a poor choice if you care about protecting the environment.

#3 Doesn’t Address The Underlying Issue

Using copper sulfate is kind of like putting a band-aid on a broken arm. 

Sure, it might kill tree roots or clear up algae for a while, but the problems will come back because you haven’t fixed what’s causing them. 

The roots and algae will grow back, and you’ll still have system issues. Then you’ll need to use more copper sulfate, and the cycle just keeps going, causing more damage each time.

If you rely on copper sulfate, you’ll miss out on better, longer-lasting solutions.

Also Read: Does A Septic Tank Need A Vent?

What To Do Instead Of Using Copper Sulfate

Now that you understand why copper sulfate isn’t the way to go, here are some effective alternatives that will actually help:

Root Barriers

Beech Tree In Autumn
Beech tree trunk cose up in Autumn

Installing physical root barriers around your septic tank or drain field is the best way to prevent tree roots from invading the system. 

These barriers are basically thick sheets of plastic or metal that go into the ground around your septic components. They’re pretty effective at keeping roots out and don’t need much maintenance once they’re installed. 

Sure, installing them takes a bit of work at first, but once they’re in place, you won’t have to worry about them. 

It’s a one-and-done solution that actually works.

Professional Root Removal

If roots have already invaded your system, your best bet is to call a professional. 

They have special tools like mechanical augers and cameras to find and remove roots without damaging your pipes. 

Plus, they can spot any damage that needs fixing and help prevent future problems. 

Yes, it costs more than buying some copper sulfate, but trust me – getting it done right the first time will save you money in the long run.

Proper Landscaping

One of the best ways to prevent problems is to think carefully about your landscaping. 

Keep trees at least 30 feet away from your septic system – even farther for bigger trees. If you’ve got trees growing too close to your system, it’s better to remove them while they’re small.

If you want to plant something over your septic system, stick to grass or other plants with shallow roots.

This simple planning can prevent a lot of headaches and expensive repairs down the road.

Regular Maintenance

Taking care of your septic system isn’t complicated – it just needs regular attention.

Get it inspected and pumped on schedule, and keep an eye on how it’s working. 

When you stay on top of maintenance, you can catch problems early and won’t need to resort to harsh chemicals.

Bottom Line

People use copper sulfate for septic systems all the time, but it’s really not worth the risk. 

It hurts helpful bacteria, damages the environment, and doesn’t solve the real problems. 

You’re better off preventing issues through smart landscaping and regular maintenance, and getting professional help when something goes wrong.

Is Lysol Toilet Bowl Cleaner Safe For Septic Systems?

Keeping your bathroom clean is a must, but when you’ve got a septic system, you need to think twice about what you’re putting down your pipes. 

If you’re like most people, you’ve probably wondered if Lysol Toilet Bowl Cleaner is okay to use with your septic system.

It’s a common question, and for good reason – no one wants to mess up their plumbing.

In this post, I’ll explain if lysol toilet bowl cleaner is safe for septic systems. I’ll also go over some of the other Lysol products that are septic safe and what happens if you use harsh cleaners.

Is Lysol Toilet Bowl Cleaner Septic Safe?

Yes, Lysol Toilet Bowl Cleaner is safe for septic systems. It actually says right on the label that it’s safe for all plumbing and septic systems!

Most Lysol toilet bowl cleaners are biodegradable, so they can be broken down naturally over time by microorganisms in your tank.

This includes:

  • Lysol Clean & Fresh Toilet Bowl Cleaner
  • Lysol Power Toilet Bowl Cleaner
  • Lysol No Mess Automatic Toilet Bowl Cleaner

These cleaners are formulated to effectively kill 99.9% of bacteria and viruses without messing up the good bacteria in your septic tank. They’ve balanced it just right so it cleans and disinfects without causing trouble.

Also Read: Is RID-X good for septic systems

Another reason why it’s okay for septic systems is that it gets super diluted. Think about it – your typical septic tank holds like 1,000 gallons or more of wastewater. 

So when you flush a bit of toilet cleaner, it’s like a drop in the ocean. 

It gets so watered down that it doesn’t really affect the bacteria balance in your septic system.

Don’t Use Lysol Regularly

Don’t go overboard with it though. Using it once a week or every other week should be fine. 

Just make sure it gets diluted properly when you flush. When you use it, put about 4 fl. oz. in the toilet bowl, let it sit for a bit, then flush.

That amount is usually safe because your septic tank is so big, it dilutes the cleaner really well.

Other Lysol Products That Are Septic Safe

Modern Bathroom Toilet Indicating Importance Of Septic System Maintenance And Regular Septic Inspections For Efficiency

Most Lysol cleaners are safe for septic systems. This includes:

  • Lysol All Purpose Cleaner
  • Lysol Laundry Sanitizer
  • Lysol Disinfectant Spray
  • Lysol Multi-Surface Disinfectant Cleaner

But always check the label and follow the instructions.

Look for stuff that specifically says it’s septic-safe to be on the safe side.

The only thing that is NOT septic safe is Lysol Disinfectant Wipes. Never flush these or any other wipes down the toilet. They don’t break down and will clog your system.

Potential Risks Of Using Harsh Cleaners

Before we wrap this post up, let’s talk a bit about why it’s so important to use biodegradable and septic safe products, and problems harsh cleaners can cause:

Disrupts Helpful Bacteria

The biggest issue with harsh cleaners and chemicals is that they can mess up the balance of bacteria in your septic tank.

Cleaners with bleach or strong antibacterial agents can kill off the good bacteria that break down waste. If that happens, your system won’t treat wastewater as well, and you could end up with clogs and backups.

Same goes for antibacterial soaps – if you use them all the time, it can hurt the bacteria.

Also Read: Does a septic tank need a vent

Lowers Treatment Effectiveness

When those good bacteria in your septic system get wiped out by harsh chemicals, the system doesn’t break down solids as well. 

This means you get more sludge building up in the tank. 

You’ll have to pump it more often and do more maintenance. It can end up costing you more money if you have to deal with backups or system failures because of chemical damage.

Pollutes The Environment

Another issue is the environmental impact. 

Chemicals that go into your septic system can seep into the soil and groundwater around it. This could contaminate local water sources, which is bad for the environment and potentially for people’s health if it affects drinking water.

It’s a big deal, which is why using septic-safe products is so important.

Damages Pipes

Close Up Rusty Pipes Indicating Need For Septic System Inspection And Maintenance To Prevent Corrosion And Failure

Oh, and one more thing – some harsh cleaners, especially drain cleaners with sodium hydroxide or sulfuric acid, can actually corrode your pipes over time. 

This can lead to leaks or breaks, which are expensive to fix. 

Also Read: Dead grass over sewer line

It’s not just your septic system that gets affected – it can cause problems all through your home’s plumbing.

Wrapping Up

So, to sum it all up, Lysol Toilet Bowl Cleaner and most other Lysol products are generally safe for septic systems if you use it like they tell you to.

It cleans and disinfects well without hurting the good bacteria that your septic system needs. 

But remember, don’t use too much of it or any cleaning stuff.

Stick to the instructions on the label, and your septic system should be just fine.

Does A Septic Tank Need A Vent? (Yes – Explained)

Wondering if your septic tank needs a vent? 

The short answer is yes. A septic tank needs a vent.

While it might not be the most obvious part of the system, the vent is super important and plays a critical role in keeping your septic system running smoothly.

Without it, your system could run into some serious issues.

In this post, we’ll shed some light on why septic tanks need a vent and what could happen if your tank isn’t vented.

Why Septic Tanks Need To Be Vented

There are a few important reasons why venting a septic tank is a must. It’s not just about keeping the system working but also about preventing problems that can build up over time. 

Here are three big reasons why your septic tank need a vent:

Also Read: Is dawn good for septic systems?

#1 Preventing Gas Buildup

Septic tanks are designed to break down waste, and during that process, gasses like methane and hydrogen sulfide are produced.

These gasses can be pretty dangerous if they build up inside the tank.

That’s where venting comes in handy. It’s like opening a window in a stuffy room. The vent lets all those gasses escape safely into the air instead of building up and causing trouble. 

Without a vent, you could end up with a tank full of explosive gas – definitely not something you want under your yard!

#2 Reducing Pressure In The System

Think of your septic system as a big, underground maze of pipes and tanks. Now, imagine what would happen if you plugged up all the exits. 

Pressure would build up, right? That’s exactly what can happen without proper venting.

This pressure can cause all sorts of problems. Your drains might start gurgling or draining super slowly. You might hear weird noises coming from your pipes. In the worst case, you could end up with sewage backing up into your house – gross. 

The vent works as a pressure release valve, allowing excess pressure to escape.

A septic tank needs a vent to keep the pressure just right, so everything flows the way it should.

Also Read: septic tank baffle clogs

#3 Controlling Odor

The stuff in your septic tank doesn’t smell like roses, and no one wants to deal with the smell. 

A properly vented system allows unpleasant odors to escape through the vent pipe, typically far enough away that it doesn’t bother you or your neighbors.

If the tank isn’t vented correctly, those smells could end up seeping into your yard or even your house, making things quite unpleasant. 

Venting keeps the air flowing in the right direction, taking odors with it.

How Venting Helps The Septic System Function

Venting isn’t just about dealing with gasses and smells – it actually helps your whole septic system work better.

Septic tank vents let air move freely through the system, which is great news for the helpful bacteria that break down waste. Bacteria thrive in an environment with a good balance of oxygen, and the venting system helps make sure they get enough of it to do their job.

Plus, when you use a lot of water at once (like during laundry day), the venting system helps balance out the pressure.

This is super important because it keeps your pipes and tank from getting stressed out, which means fewer leaks and a longer-lasting septic system.

What Happens If A Septic Tank Isn’t Vented

If a septic tank isn’t vented, things can quickly go wrong. Trust me, it’s not pretty:

Also Read: Grass over septic tank is yellow

  • Your house or yard might start smelling foul
  • Slow draining fixtures and frequent clogs
  • You might hear weird gurgling noises from your pipes
  • In the worst case, sewage could back up into your house (definitely not something you want to deal with)
  • Your septic system might wear out faster because of all the extra stress
  • There could even be health risks from those harmful gasses hanging around

In extreme cases, all that built-up methane could actually be a fire hazard. It’s rare, but it just goes to show how important proper venting really is.

Where Is My Septic Tank Vent?

Roof Top With Shingles Showing Septic Plumbing Vent On Roof Location

Wondering where your septic tank vent actually is? Most of the time, your septic system actually shares venting with your home’s regular plumbing. 

See that pipe sticking up through your roof? That’s probably doing double duty as your main vent stack for both your household plumbing and your septic system.

Sometimes, there might be extra vents on the septic tank or scattered around the drain field. 

These help make sure air can move freely throughout the whole system. 

If you’re not sure about your setup or want to make sure everything’s working right, it’s a good idea to call in a pro. They can check things out and let you know.

Here are a few more tips to locate it.

Wrapping Up


So, does a septic tank need a vent? Yes, it’s a MUST. Venting helps the system release gasses, control pressure, and keep odors under control.

Without it, you could face some major problems down the line. 

Make sure your septic system is properly vented and functioning well—it’s a simple way to avoid a lot of headaches.

Septic Tank Baffle Clog? (Here’s Why & What To Do)

Does your house seem to be gurgling a bit more than usual? Are your drains slow or even backing up? Or maybe you’ve noticed some unpleasant sewage smells creeping in?  

These could be signs of a septic tank baffle clog.

But don’t worry, I’m here to help.

In this post, I’ll shed some light on what causes septic tank baffle clogs, and what to do about it

Why Does Septic Tank Baffle Clog?

There are two septic tank baffles – the inlet baffle and the outlet baffle. 

In most cases, it’s the inlet baffle that gets clogged because it sits at the beginning of the tank, where incoming wastewater from your house first enters.

Also Read: Can I Cover My Septic Tank Lid With Dirt?

Here are the 3 main reasons behind septic tank inlet baffle clogs:

Flushing Things That You Shouldn’t

The most common reason for blockages in inlet baffles is flushing items that don’t belong in your septic system.

We’re all guilty of it sometimes, but it’s a habit we need to break.

Things like wet wipes, feminine products, paper towels, and even too much toilet paper can cause big issues. These items don’t break down easily in your septic tank.

Instead, they build up in your baffle and create blockages.

Scum And Sludge Build Up

The next reason is the buildup of scum and sludge.

Your septic tank deals with two types of waste: scum (which floats on top) and sludge (which sinks to the bottom).

Over time, these layers get thicker and thicker.

Now, your tank can handle a certain amount of this. But if these layers get too thick, they start causing problems, and interfere with how your baffle works.

This can lead to clogs and make your whole system less efficient.

The good news? Regular pumping can prevent this problem.

Skipping Maintenance

Another reason for blockages in inlet baffles is neglecting regular maintenance.

I get it – septic system maintenance isn’t exactly at the top of anyone’s fun-things-to-do list. But skipping it is like never changing the oil in your car.

Also Read:

Sure, everything might seem fine for a while, but you’re setting yourself up for a world of trouble down the road.

Regular check-ups and pumping are a MUST.

Plus, regular maintenance can actually save you money in the long run. It’s a lot cheaper to pump your tank every few years than to deal with a major septic system failure.

How To Unclog Septic Tank Baffle

But before we start, a quick word of caution: if you’re not comfortable with any of these steps, or if you’re dealing with a really stubborn clog, don’t hesitate to call in a pro.

There’s no shame in getting expert help when you need it.

#1 Find And Open The Tank

First things first – you need to locate your septic tank. This is easy if you have a map of your system, but if not, use a probe to find it.

Once you’ve found it, it’s time to open it up.

Now, if your tank has a riser (that’s a pipe that brings the access point up to ground level), this part is pretty easy. If not, you might need to do some digging.

Be careful – you don’t want to damage the tank.

If you find that accessing the baffle is tricky, you might want to think about installing a riser.

It’s an upfront cost, sure, but it makes future maintenance so much easier.

Also Read:

#2 Inspect The Baffle

Once you’ve got the tank open, shine a flashlight into the tank to inspect the baffle.

You’re looking for anything obvious – big clumps of stuff or anything that looks like it’s blocking the flow of water.

It might not be pretty, but this inspection can tell you a lot about what’s going on in your system. Is there a bunch of stuff that clearly shouldn’t have been flushed?

That’s a sign you might need to have a family meeting about what goes down the toilet.

Is the baffle itself damaged? That’s a job for a professional.

#3 Use A Garden Hose

If you spot a clog that doesn’t look too bad, your garden hose might be all you need.

Think of it like pressure-washing for your baffle. A strong stream of water can often dislodge minor blockages.

Insert the hose into the baffle opening and let it rip. Be cautious of backflow, and make sure the hose doesn’t get stuck in the process.

Sometimes, this is all it takes to get things moving again. It’s simple, but often effective.

#4 Use A Plumber’s Snake Or Sewer Jetter

If the hose doesn’t do the trick, you can use a plumber’s snake or a sewer jetter if you have one.

These tools can reach deep into the pipes and break up clogs that a hose just can’t handle.

Insert it into the baffle and work it through to clear the blockage. Twist the snake or use the jetter’s water pressure to break up the clog.

But here’s the thing – you need to be careful. These tools are powerful, and if you’re not sure what you’re doing, you could end up damaging your system.

#5 Clean Up

Once you’ve dealt with the clog, it’s clean-up time.

Make sure you close up the tank properly, and clean any tools you used thoroughly.

Remember, you’re dealing with some pretty nasty stuff here, so good hygiene is important. Wash your hands well, and consider washing the clothes you wore separately from your regular laundry.

When To Call A Professional?

Sometimes, it’s best to leave it to the pros.

If you can’t clear the clog yourself, or if you notice other septic system problems, it’s time to call in an expert – like us! We got the tools and know-how to handle tricky situations safely.

And if you’re ever unsure about what you’re doing, it’s always better to ask for help than to risk making things worse.

FAQs

Is My Septic Tank Inlet Baffle Clogged?

How do I know if my inlet baffle is clogged? Here are some signs to look out for:

  • Slow drains
  • Sewage backups
  • Foul smells
  • Pooling water around the septic tank

If any of this sounds familiar, it could be an inlet baffle clog.