
Author: Soils Inc.

How Much Does A Shrink Swell Test Cost?

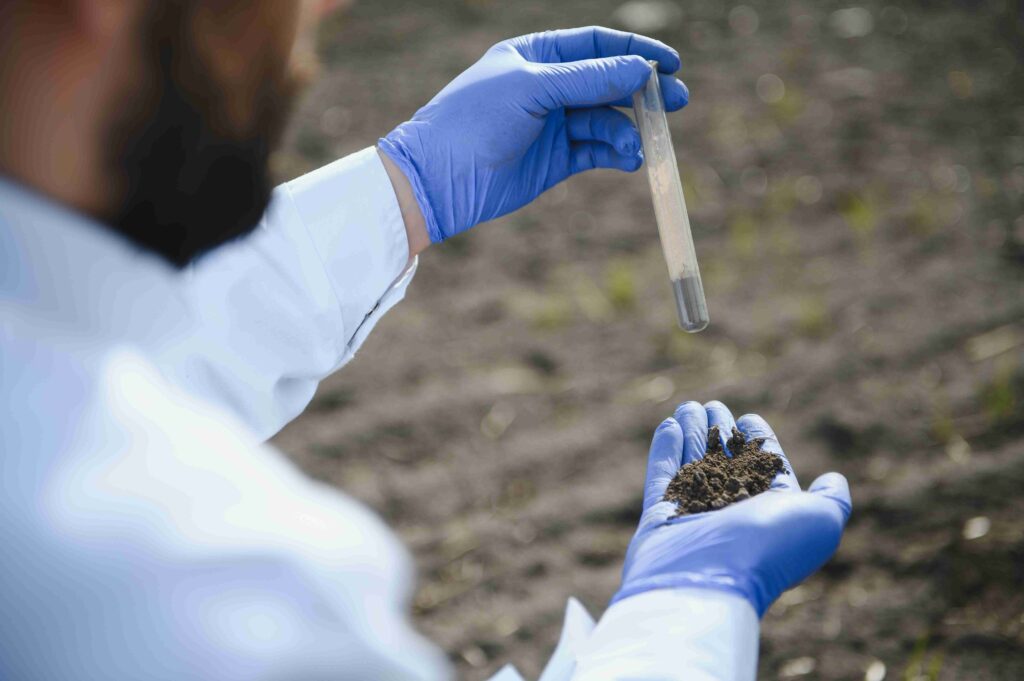
If you’re planning to build on clay-heavy soil or noticing cracks in your foundation, a shrink swell test can save you a ton of future headaches.

This test helps figure out how much your soil expands when wet and shrinks when dry, which is a big deal for anything that sits on top of it, like your house or driveway. 

But how much does a shrink swell test actually cost?

In this post, we’ll break down the average shrink swell test costs, and the factors that affect the final price. Plus, we’ll also give you a rundown of our prices.

Average Shrink Swell Test Costs

Most basic shrink swell tests fall in the range of $100 to $300 per sample

That’s just for the test itself with no extras, no deep reports, no field visits. Just the lab taking your dirt and figuring out how much it wants to change shape.

But, if you’re working with an engineer or you need an official report for permitting or construction, the price will be a lot higher. 

A full geotechnical investigation that includes shrink-swell testing along with other soil tests (moisture content, load-bearing, classification, etc.) can run anywhere from $1,000 to $3,000+.

Average Shrink Swell Test Cost

Also Read: How Much Does Pre-Construction Soil Testing Cost?

Our Shrink Swell Test Prices

We charge $1,250 to $1,500 for a complete shrink swell test. 

That’s not just a quick scoop of dirt and a number, our price includes everything you actually need to make informed decisions about your property.

Here’s what’s included:

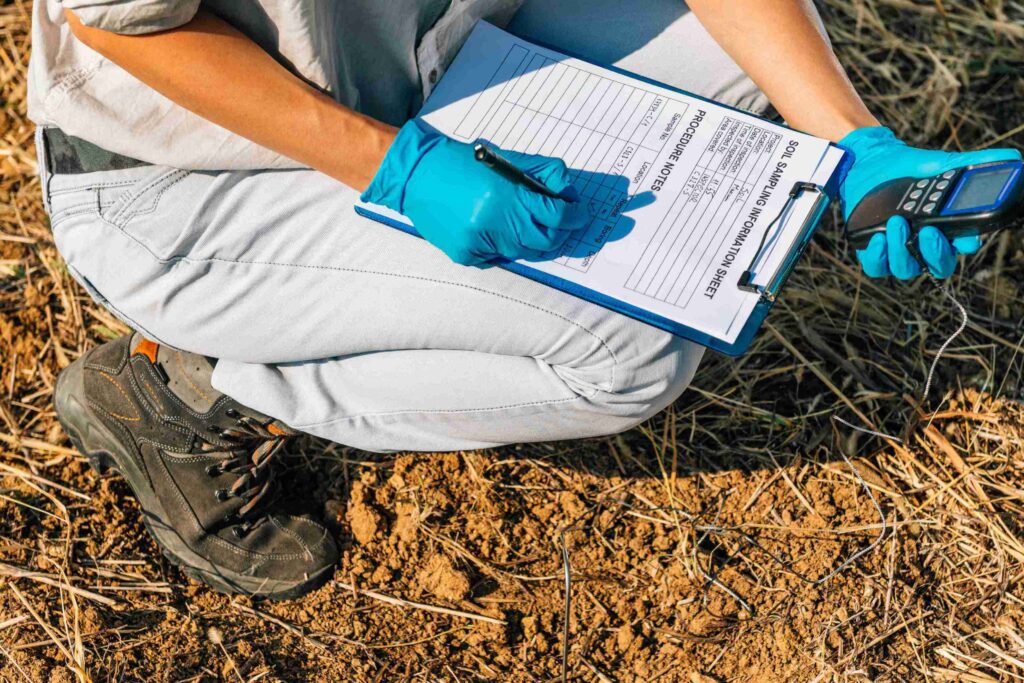
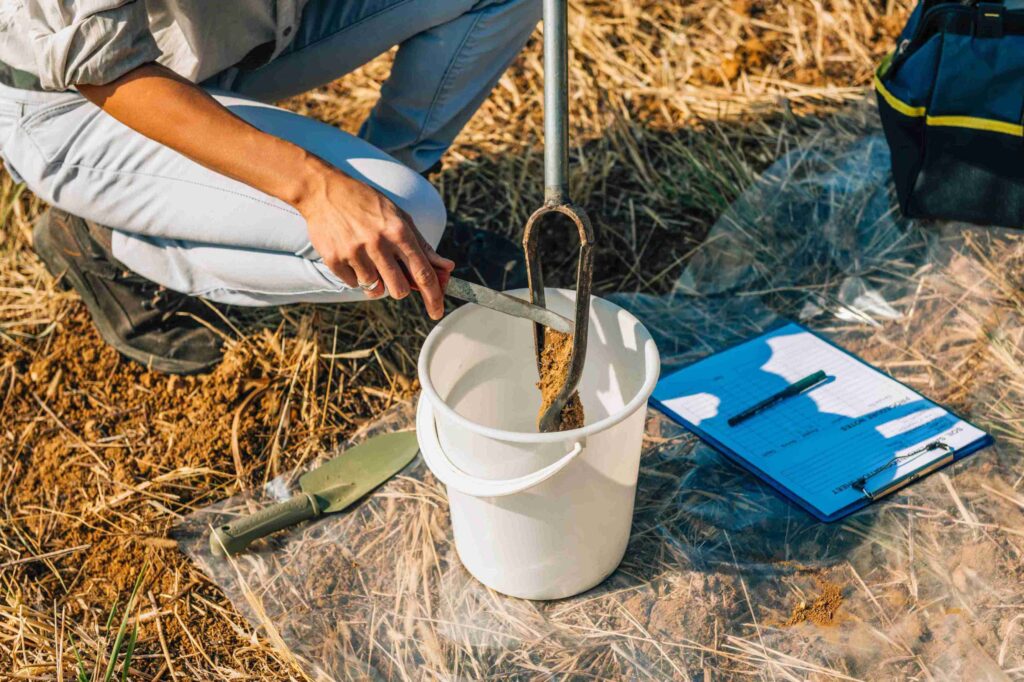
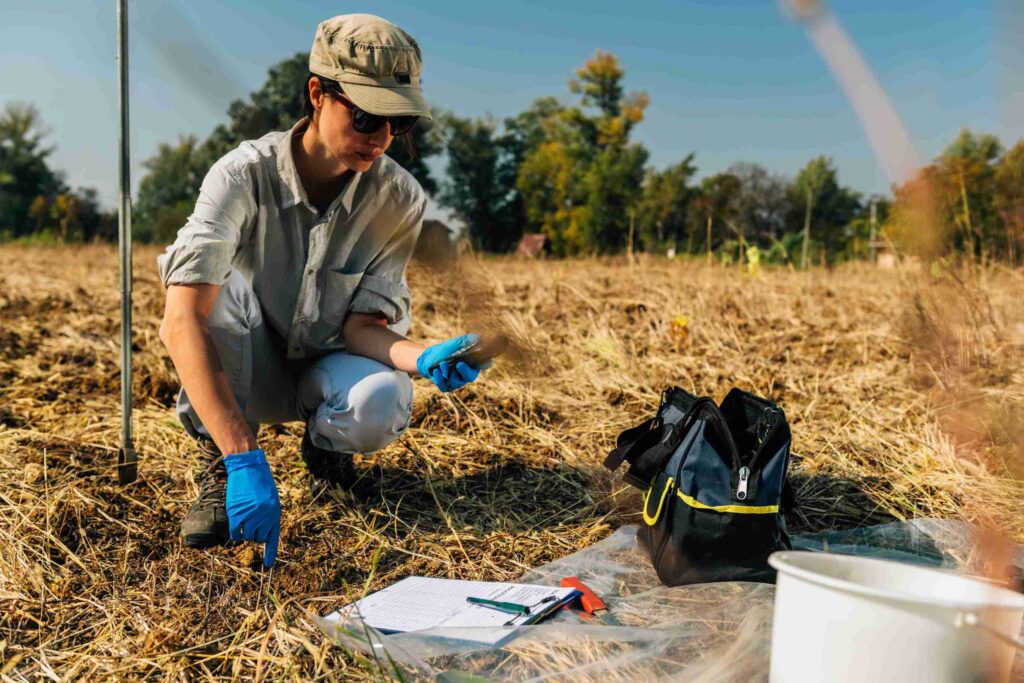
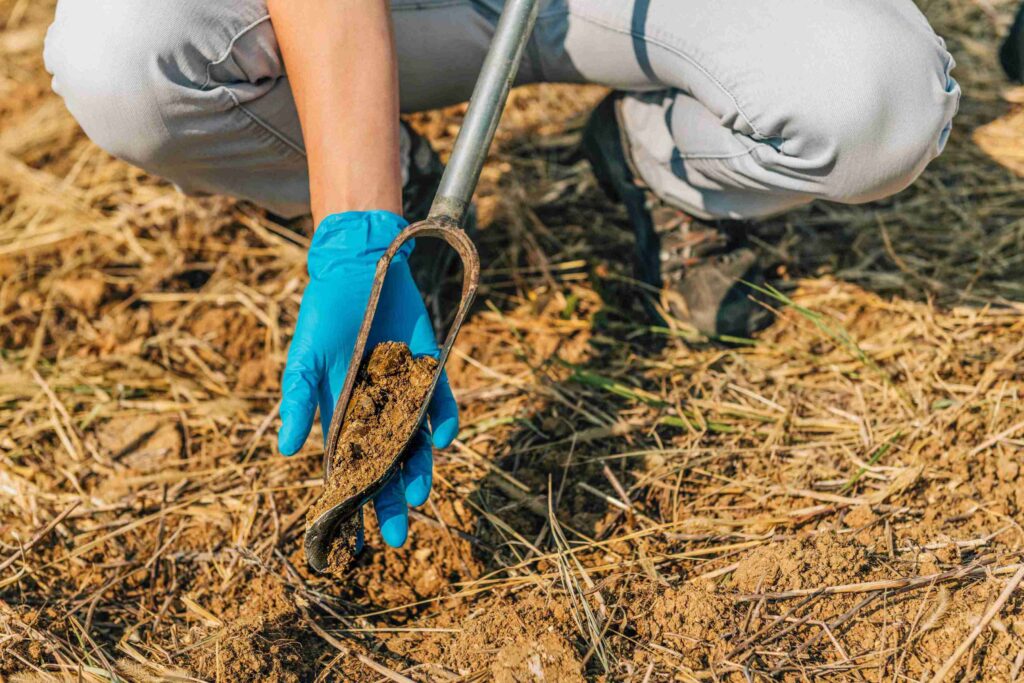
  • Site visit and soil sampling from the areas you plan to build or investigate
  • Lab analysis using industry-standard methods to determine shrink-swell potential (usually includes Atterberg Limits, Plasticity Index, and moisture content)
  • A full written report with easy-to-understand results, plus any recommendations based on what we find
  • Phone or email support if you have questions after getting the results

If you’re not sure if you even need the test, we’re happy to talk through your project first.

Factors That Affect The Cost Of A Shrink Swell Test

There are a few things that can bump up or bring down the cost of a shrink swell test. Here’s a breakdown of what actually affects what you’ll pay:

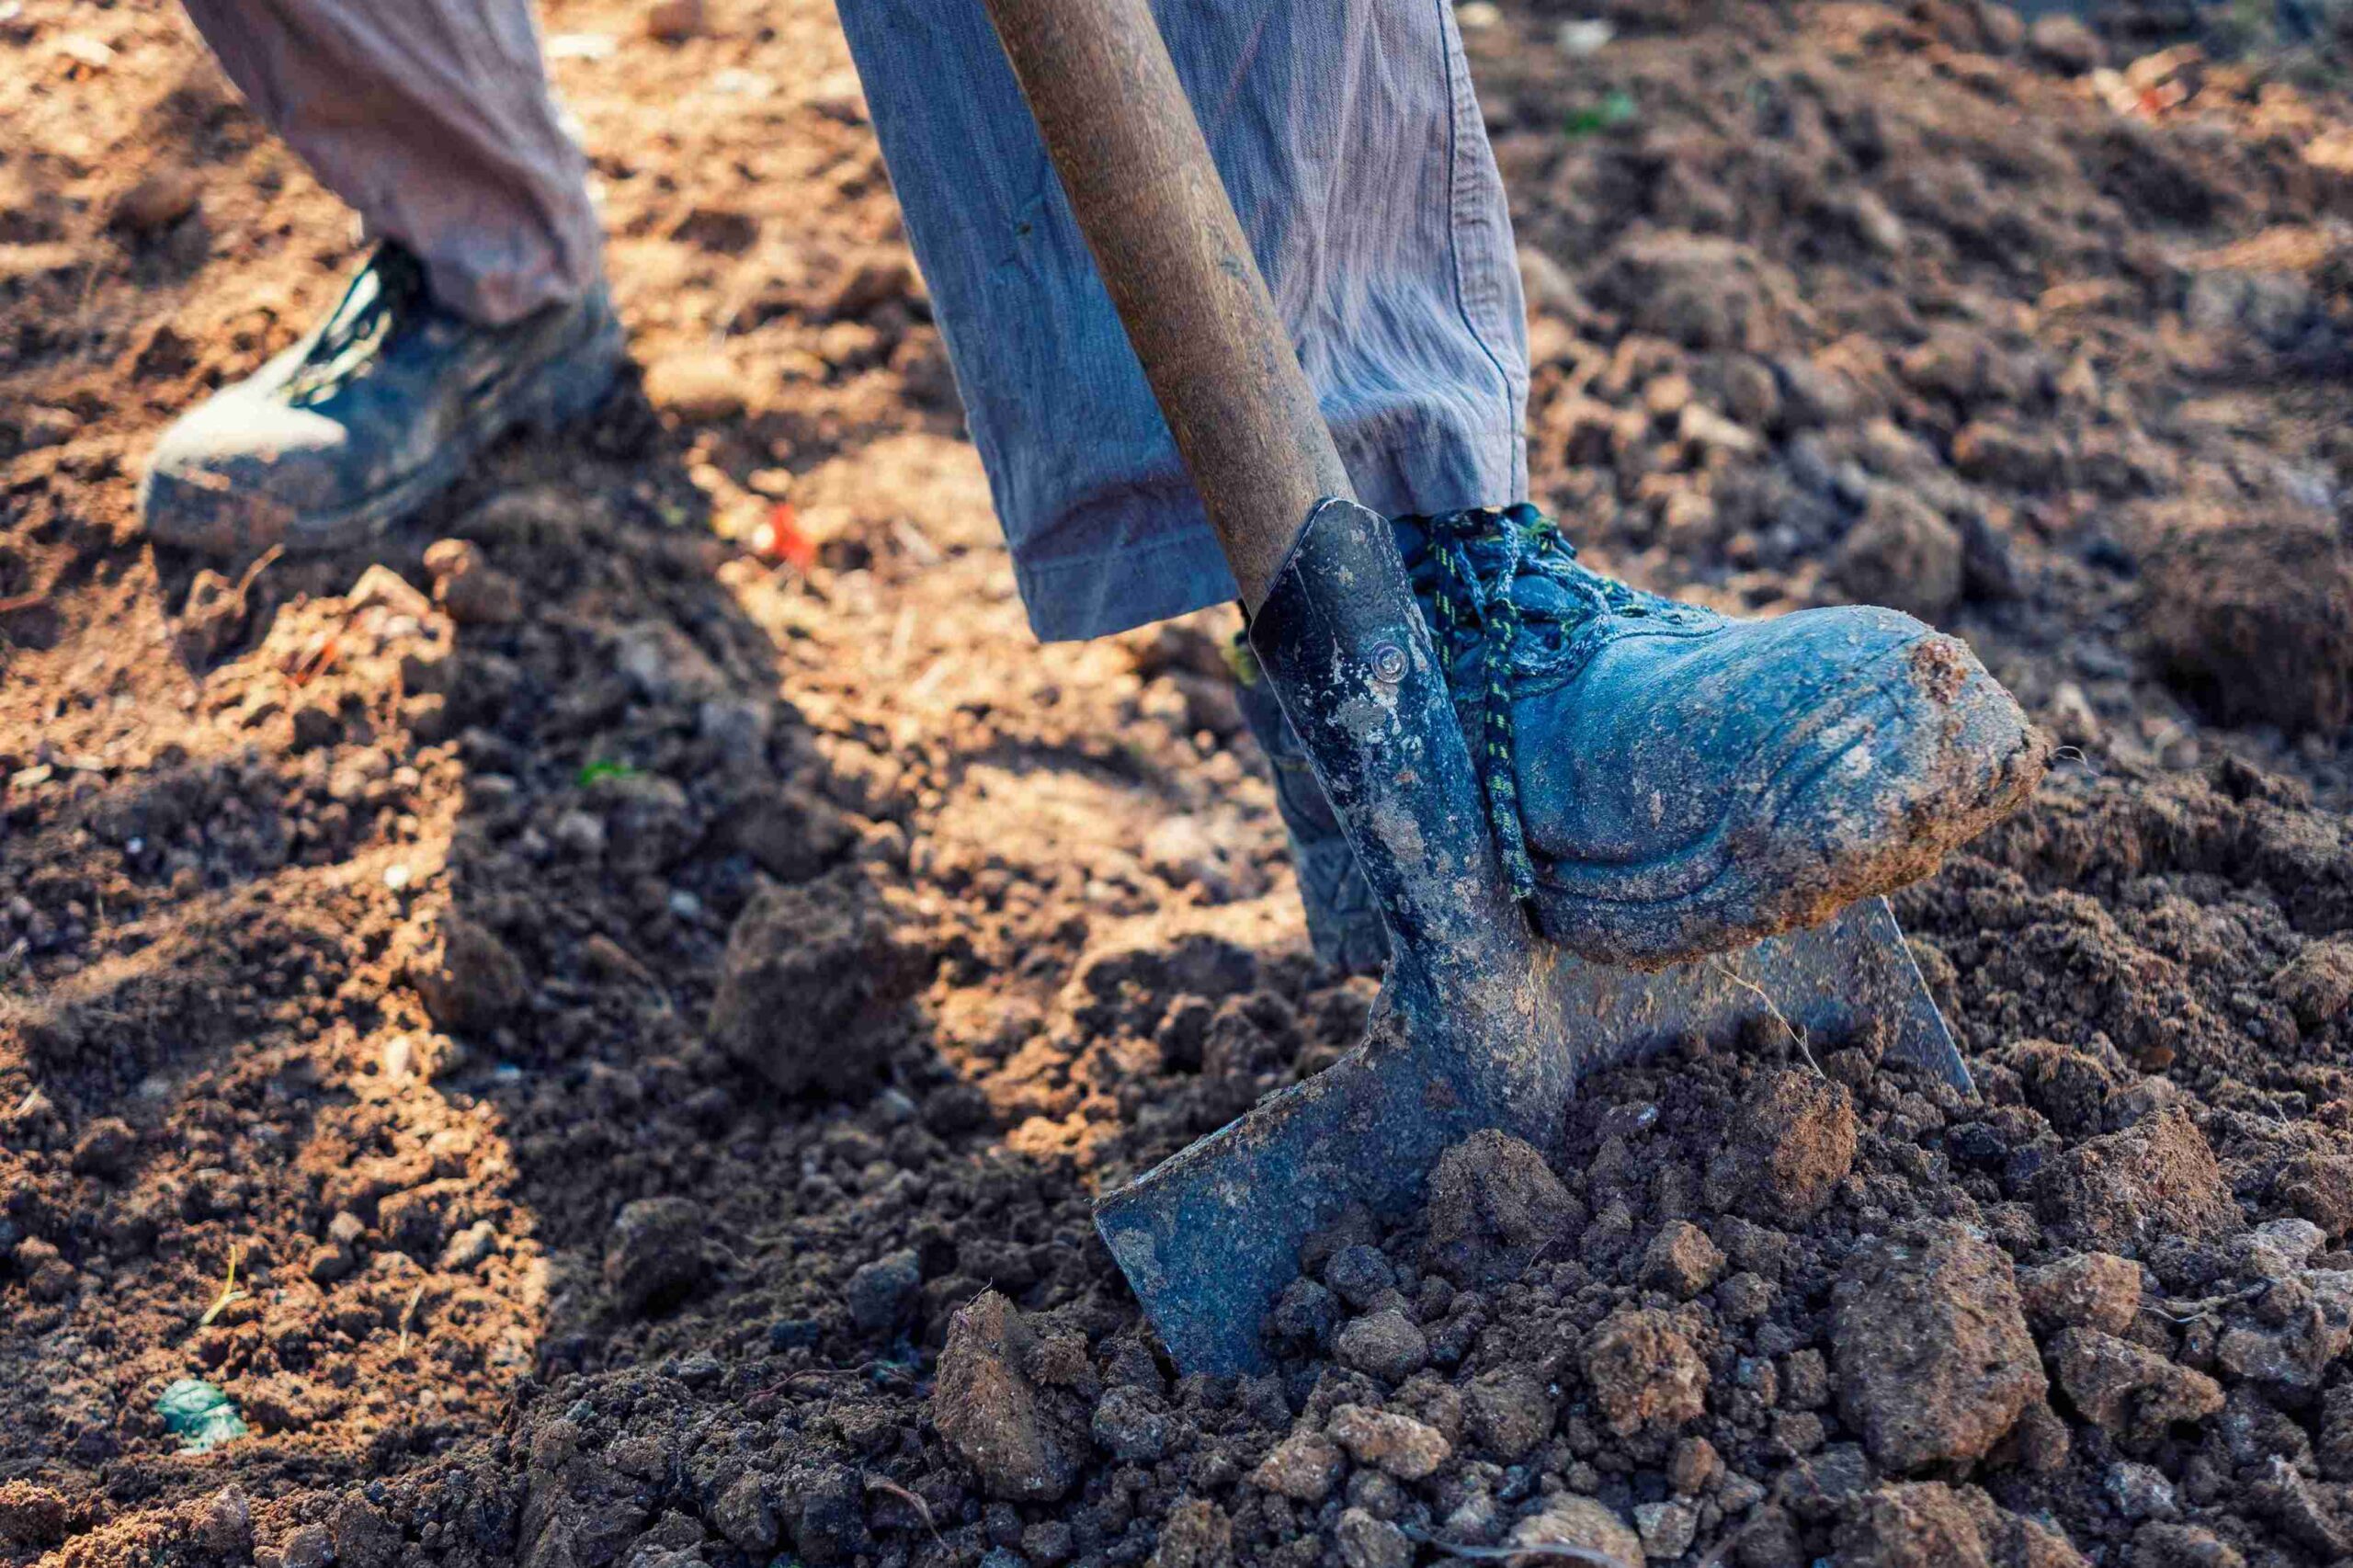
#1. Number Of Soil Samples

The more soil samples you need to test, the higher the total cost is going to be.

If you’re only testing one spot on your property, the price will be lower. But if you’re working on a larger project, like a new development or road construction, you might need to test multiple areas to get a clearer picture of the soil conditions. 

Each test costs extra, so this is one of the biggest factors in how much you’ll spend.

One sample might not tell you the whole story anyway. 

That said, some labs offer a discount if you bring in multiple samples at once. So instead of $300 each, you might pay $250 each for five or more.

Also Read: How Much Does A Perc Test Cost?

#2. Lab Vs. Field Testing

Most shrink swell tests are done in a lab because you get more accurate results in a controlled environment. That’s usually the default. 

But some companies do field testing, especially if they’re already drilling or boring for you.

Field tests can sometimes be cheaper upfront since there’s less handling. But they might not give you the level of detail you’d get from a lab report. 

And for bigger projects or anything involving a permit, the lab version is often required.

Factors That Affect The Cost Of A Shrink Swell Test

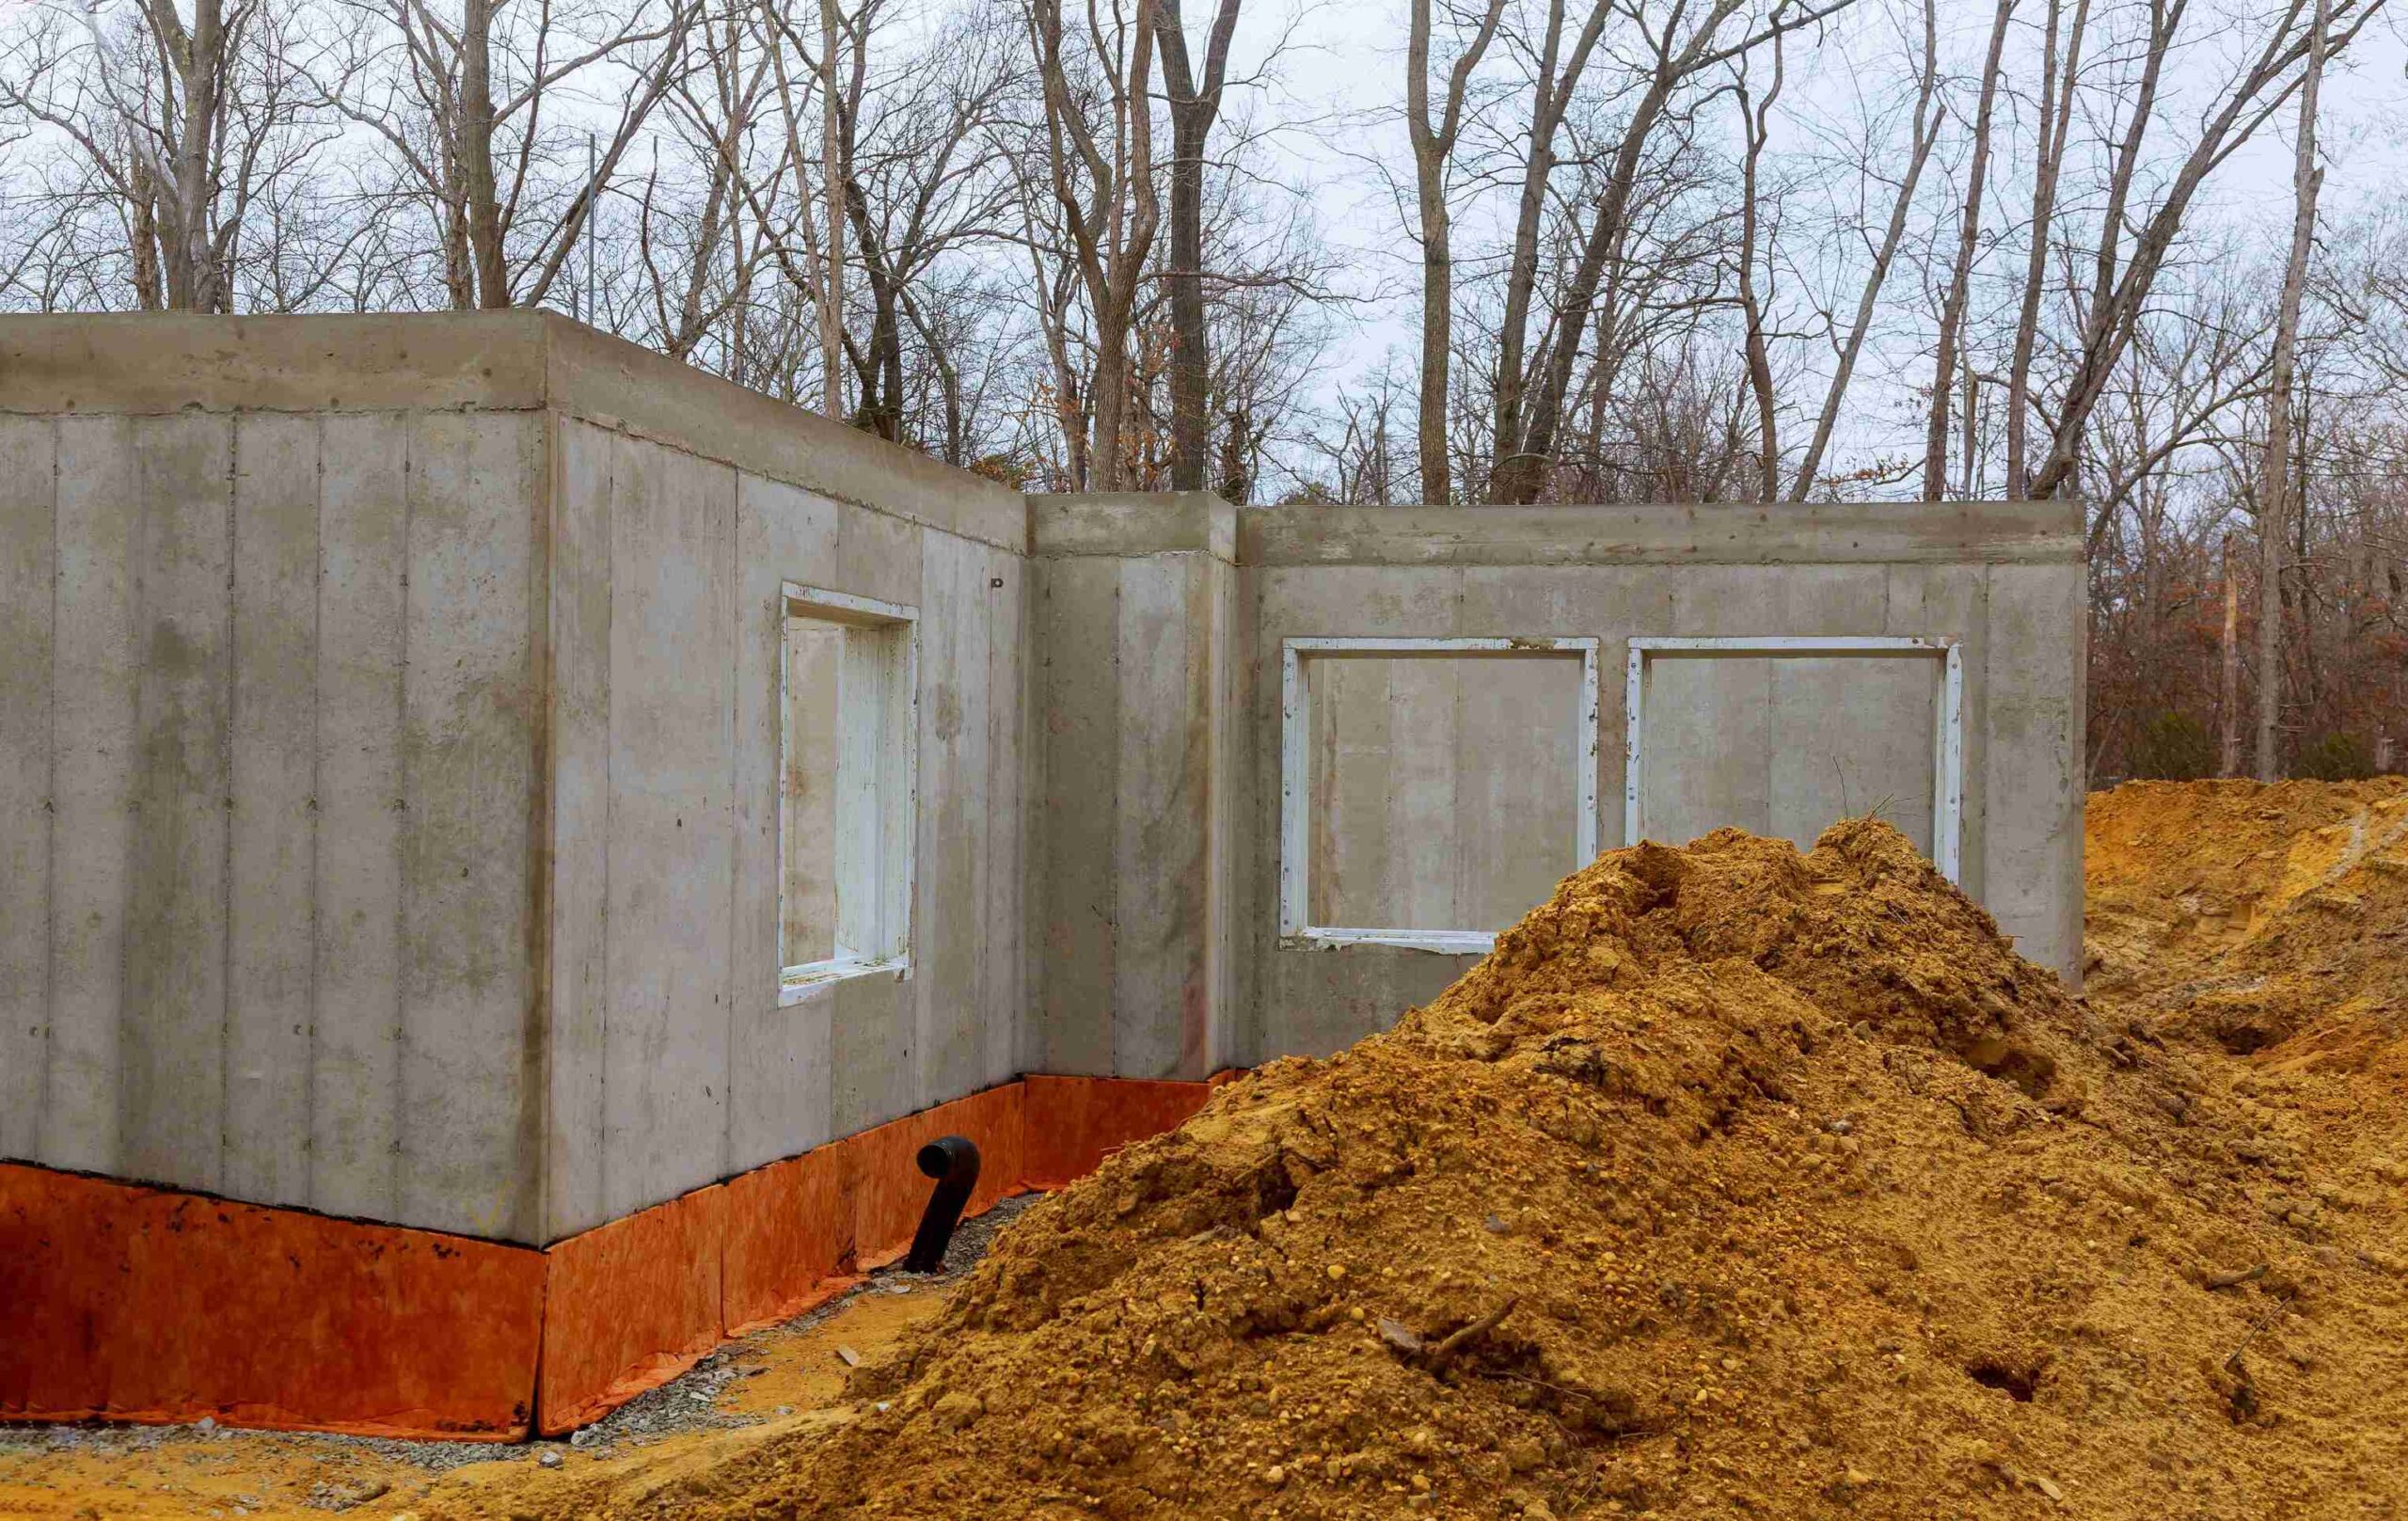
#3. Depth Of Soil Sampling

The deeper you need to go to get your soil samples, the more expensive the test will be.

Surface samples are easy and quick. You dig a little, scoop some dirt, and you’re good to go.

But if the test needs to go a few feet (or several feet) into the ground, that’s a different story. You’ll need special equipment to drill or bore. 

That means extra labor, extra time, and yes, extra cost.

Plus, deeper samples are often needed for things like basements, retaining walls, or large structures that have to sit on super stable ground.

Also Read: What Soil To Use For Grading Around House?

#4. Location And Local Rates

Shrink swell test costs can vary depending on where you live too. 

If you’re in a rural area with limited geotechnical services, you might pay more just because the lab has to travel out to you or because there’s not much competition around.

On the other hand, in a bigger city with more testing options, you might get lower rates or faster turnaround times. Some areas also have local codes that require more detailed reports, which can add to the total.

#5. Type Of Report Or Analysis

Are you just curious about what your soil does? Or do you need a stamped engineering report to submit with your permit application? There’s a big difference.

A basic lab test with raw numbers is on the cheaper side. 

But a detailed geotechnical report that includes shrink-swell data, recommendations, and all the bells and whistles takes time to write and review. And that adds cost.

Most residential projects can get away with a simple analysis. But if your builder or city says they need a full report, don’t be surprised if the price doubles or triples.

#6. Turnaround Time

In a rush? Expect to pay more for the shrink swell test.

Some labs offer expedited testing if you’re up against a deadline. That usually means bumping your samples to the front of the line or running extra shifts to get your results back fast.

Rush fees vary, but a good rule of thumb is to add 25 – 50% to your base cost if you want results in 24 – 48 hours.

If you’ve got time to wait, standard turnaround is usually a week or less.

#7. Add-On Tests

Sometimes, a shrink swell test is just the beginning. Depending on the soil type and what you’re trying to learn about your land, you might need additional tests. 

For example, you may want to test for:

  • Moisture content
  • Plasticity index (Atterberg limits)
  • Soil classification
  • Compaction or density testing

These extras give you a better picture of how your soil behaves. Some labs throw them in at a slight discount, while others charge per test. 

If you’re just doing one-off testing, ask what’s included before you commit.

Bottom Line

A shrink swell test can cost as little as $100 to $300 per sample or up to $3,000+ for full reports with deep analysis. What you actually pay depends on how many samples you need, how fancy the report has to be, and how fast you want results.

It might feel like a hassle at first, but it can save you big money down the line. 

Fixing a cracked slab or failing foundation costs way more than testing the dirt first. 

So if you’ve got movement, moisture, or major plans to build, getting a shrink swell test is a smart move. Just grab a quote or two, ask what’s included, and you’ll be good to go.

What To Do If Your Land Fails A Perc Test? (Your Options)

So, your land failed a perc test. Ugh, right?

You probably imagined building your dream home, setting up that cabin, or finally starting that off-grid lifestyle, and now you’re staring at a failed test and wondering what’s next.

The good news is that it’s not game over. There are still ways to make the land work for you.

In this post, we’ll show you what to do if your land fails a perc test.

What Does It Mean If Your Land Fails A Perc Test?

A perc test (short for percolation test) is basically a soil drainage test. It tells the county or health department how well your soil can absorb water. 

This is super important for installing a septic system. 

If water just sits in the ground and doesn’t soak in fast enough, it can back up into your yard or pollute nearby water sources.

So, if your land fails, it usually means the soil is too dense (think clay-heavy), too rocky, or just holds too much water. And unfortunately, that means a traditional septic system won’t work there without some extra planning.

What Does It Mean If Your Land Fails A Perc Test

Also Read: How Much Does Stormwater Management Cost?

What To Do If Your Land Fails A Perc Test?

A failed test sounds like a huge roadblock, but it doesn’t have to be the end of your plans. 

In many cases, there’s still a way forward and you just might need to get creative, do a little extra legwork, or consider a different type of setup.

Let’s go through some practical steps you can take next:

#1 Double-Check The Results

Before making any big decisions, it’s smart to make sure the failed perc test was accurate. 

Soil conditions can change depending on the location, time of year, or even recent weather. If the test was only done in one spot, there’s a chance another area on your land could pass. 

You might want to try testing in a different location or wait until a drier season if the ground was especially wet the first time around. 

It’s also totally fair to bring in a second opinion, like hiring a private soil expert or engineer to retest and double-check things. 

Sometimes what looks like a failure at first can be worked around with just a little more information.

Also Read: How Much Does A Perc Test Cost?

#2 Talk To The Local Health Department Or A Septic Designer

This is your next best move. Your local health department knows all the rules and might have already seen land like yours before. 

They can walk you through your options, point you to qualified septic system designers, and explain what kinds of systems are allowed in your area.

You can also go straight to a licensed septic designer or soil engineer. 

These people know how to work around tricky soil and failed perc tests. They’ve probably seen it all and can usually suggest a custom plan.

Do This If Your Land Fails A Perc Test

This isn’t something you need to figure out alone so lean on the people who do this every day.

#3 Explore Alternative Septic Systems

Just because your land can’t handle a standard septic system doesn’t mean you’re out of luck. There are modern systems made specifically for tough soils and low drainage.

Here are a few that might work:

For example, mound systems raise the drain field above ground level using sand or gravel to help with absorption. Aerobic treatment units use oxygen to break down waste and are great for properties where the soil just won’t cooperate. 

There are also sand filter systems and drip distribution systems that release water slowly or clean it more thoroughly before it even hits the soil. 

These systems usually cost more and need regular maintenance though.

#4 Consider Land Modifications

Sometimes the land just needs a little help. You might be able to improve the drainage enough to pass a future perc test or make a septic system possible with a few changes.

This might include:

  • Bringing in sand or gravel to loosen up compact soil
  • Digging out poor soil and replacing it with more suitable layers
  • Re-grading parts of the property to direct water runoff away
  • Installing drainage systems like French drains or dry wells

These types of fixes aren’t cheap, but in some cases, they’re worth it – especially if you’re set on building in that specific spot.

#5 Look Into Off-Site Solutions

This one’s not always an option, but sometimes it works. 

If you own neighboring land, or know someone who does, you might be able to install your septic system on a nearby lot instead. You’d need an easement agreement and health department approval, but it’s been done.

Also Read: How Much Does A Septic System Cost?

Another long shot: if there’s a public sewer line somewhere nearby, you might be able to pay to tap into it. It’s not cheap, but if it’s possible, it could save you the trouble of dealing with septic altogether.

Again, the health department can tell you if any of these are even on the table.

#6 Change How You Use The Land

If none of the above options pan out (or they’re just too expensive) you might decide to shift your plans for the land. And that’s okay, too. It doesn’t mean the land’s useless. It just might not be ideal for a full-time home with plumbing.

Here are a few other ideas:

  • Use the land for recreational purposes (like hunting, camping, or hiking)
  • Set up a small off-grid structure without plumbing
  • Build a garage, workshop, or storage barn
  • Lease or sell the land to someone with different plans

Some people even hang onto failed-perc land just to wait it out. If the area grows and sewer lines extend nearby, your land could become much more valuable in the future.

Bottom Line

If your land fails a perc test, you still have plenty of options. You can try a second test, look into alternative septic systems or modify the land.

Plus, even if a traditional septic system isn’t possible, there’s often a way to make the property usable. 

The key is staying flexible, doing your research, and asking the right people for help.

How Much Does Pre-Construction Soil Testing Cost?

Building a new home is an exciting adventure, but before you start laying down the foundation, there’s one crucial step that can’t be overlooked: soil testing.

Pre-construction soil testing helps determine if your land is stable enough to support the weight of your new home.

But let’s face it, no one likes surprise costs, so it’s good to know what to expect when it comes to the price of Pre-construction soil testing.

In this post, we’ll break down the cost of pre-construction soil testing, plus the factors that can affect the price.

Average Pre-Construction Soil Testing Cost

Pre-construction soil testing will run you between $1000 and $15,000.

That’s a wide range, we know, but the final cost depends on several factors. The testing can get more expensive depending on how complex the situation is, how big your lot is, and how deep the testing needs to go.

Here’s a quick breakdown:

  • Basic Testing – $1,000 to $3,000 (residential projects like single-family homes)
  • Moderate Projects – $3,000 to $7,000 (larger residential or small commercial projects)
  • Complex or Large-Scale Projects – $7,000 to $15,000+ (Commercial buildings, high-rises, or sites with challenging conditions)

For most people, you’ll likely be paying somewhere around $2,000 for a typical residential lot.

But again, the cost is very site-specific, so it’s a good idea to get a few quotes from local contractors or geotechnical engineers to get a better idea of what it’ll cost you.

Average Pre Construction Soil Testing Cost

Also Check Out Our: Virginia Geotechnical Reporting Services

Our Pre-Construction Soil Testing Prices

We offer two levels of pre-construction soil testing:

  • Limited Geotechnical Testing – $2,500
  • Full Geotechnical Testing – $3,500

Both options provide detailed insight into soil conditions to help guide your building plans. The full geotech includes more in-depth analysis, which is often required for larger or more complex builds.

We’ll help you choose the right level of testing based on your project and local requirements.

What Affects The Cost Of Pre-Construction Soil Testing?

So, why the price variation? There are a few things that affect the cost of pre construction soil testing. Some are pretty straightforward, and others might not be as obvious.

Let’s go over the main ones so you can understand what could push your costs up or down:

#1 Size Of The Lot

The size of your lot is probably the most significant factor when it comes to cost.

Simply put, the bigger the lot, the more testing will be required.

Larger lots may need multiple tests to account for variations in the soil across the property. Smaller lots, especially those under half an acre, will generally cost less to test because there’s less ground to cover.

If you’ve got a standard suburban lot, expect to be closer to the lower end of the cost spectrum.

But if you’ve got a sprawling piece of land with lots of acreage, your costs could climb quickly.

Also Read: How Much Does A Soil Test Cost?

#2 Soil And Site Conditions

The type of soil you’re dealing with—and the overall condition of the land—can greatly affect pre-construction soil testing costs too.

If the soil is easy to test and assess, your costs will stay low.

But if your land is on a slope, has a lot of rock, or includes marshy areas, the testing process can become more complicated. Testing for rocks or unstable ground often requires more advanced tools, which can jack up the price.

In areas where there are concerns about things like soil contamination or the presence of harmful materials, extra tests may be needed, which will add to the cost.

And if your land has poor drainage or unstable soil, the tests may need to go deeper or be more specific.

#3 Site Location And Accessibility

Testing is generally more affordable in urban areas because it’s easier for engineers and contractors to get to the site and get the work done. However, if you’re building in a more rural or remote area, your costs may go up because of travel time and additional logistics.

If the land is difficult to access—say, it’s on a steep hill or deep in the woods—it can take longer to set up the testing equipment, which can also drive up costs.

So, if your lot is in a tricky spot to reach, expect some added fees to cover the extra work and time needed to get things done.

#4 Type Of Testing Required

Soil testing isn’t one-size-fits-all. Different projects need different tests.

Basic tests determine soil classification, bearing capacity, and moisture content. These form the foundation of any testing package.

For specific concerns, you might need:

  • Percolation tests for septic systems ($300-$800 additional)
  • Expansion/shrinkage analysis for clay soils ($400-$900 additional)
  • Density testing for pavement design ($500-$1,200 additional)

Each specialized test adds to your total. Your engineer will recommend tests based on your project needs and local building code requirements.

What Affects The Cost Of Pre Construction Soil Testing

#5 Depth Of Testing

How deep the soil testing goes is another factor that affects the cost.

Shallow tests, which are only a few feet deep, are relatively inexpensive and usually enough for most homes.

However, if you’re building a multi-story home or something with a basement, you may need deeper testing to check the soil’s stability at greater depths.

The deeper you need to go, the more expensive it can get because the testing process is more complex and requires more resources.

Also Read: How much does stormwater management cost?

#6 Permit Or Inspection Fees

Don’t forget the paperwork! Many Virginia localities require permits for soil boring activities. These permit fees typically range from $75 to $300 depending on the jurisdiction.

Some counties require a county inspector to be present during testing, which adds another layer of coordination and potential costs.

Environmental permits might also be needed if you’re testing in protected areas or near waterways. These can add several hundred dollars to your project.

Bottom Line

Pre-construction soil testing costs around $1,000 – $15,000.

It’s one of the smartest investments you’ll make in your construction project. The cost of fixing foundation issues or structural problems later will dwarf what you spend on proper testing now.

We always recommend getting multiple quotes from qualified geotechnical engineers.

Make sure they explain exactly what tests they’re performing and why.

The cheapest quote isn’t always the best value—comprehensive testing from experienced professionals is worth paying for. 

How Much Does Stormwater Management Cost? (Breakdown)

Stormwater management isn’t the flashiest part of a project, but it’s a big deal if you’re dealing with runoff, heavy rains, or city requirements.

If you’ve started looking into it, you’ve probably noticed prices are all over the place. That’s because no two properties are the same, and no two stormwater systems are either.

Some setups are pretty basic and cheap. Others? Not so much.

It really comes down to what your property needs, how strict your local rules are, and the kind of solution you’re going with.

In this post, we’ll shed some light on the average stormwater management cost, and the factors that decide your final bill. Plus, we’ll also break down our prices.

Our Stormwater Management Prices

We charge $2,000 to $2,500 for a full stormwater infiltration study.

This includes site evaluation, soil testing, and a full report outlining how your property handles runoff and what solutions may be needed to meet local regulations or fix drainage issues.

If you’re dealing with flooding, poor drainage, or need a study for permitting, we’ll get you clear answers and a plan that works.

Also Check Out Our: Stormwater Management Services In Virginia

Average Stormwater Management Cost

Stormwater management costs between $2,000 to $30,000 for residential properties.

Here’s a rough breakdown:

  • Basic systems – $2,000 – $10,000 (like rain gardens, French drains, or dry wells)
  • Advanced systems – $10,000 – $30,000+ (permeable pavers, underground storage)

These setups are usually done by small contractors. They’re not super complex but still get the job done for small lots.

If you’re going bigger (like a commercial property or new development) you’re looking at a much steeper range. Most commercial stormwater systems start around $50,000, and depending on the size and scope, they can easily climb to $200,000 or more.

Average Stormwater Management Cost

Those systems usually include underground tanks, detention basins, and filtration setups that meet tight city or county codes.

What Affects The Cost Of Stormwater Management

There are a handful of things that seriously change the cost of stormwater management. Some of them are obvious. Others, not so much – until you run into them mid-project.

Let’s go over the main ones:

Also Read: Pre-construction soil testing costs

#1 Property Size And Layout

Bigger land = more water = bigger system. Simple as that.

But it’s not just the square footage. The shape and slope of your property can also change what kind of system works best.

If you’ve got a steep slope, water’s going to move faster, so you may need something that slows it down. On the other hand, a flat lot might need extra help with drainage because water just sits there.

Oddly shaped lots or properties squeezed into tight spots can also be more expensive just because there’s less room to work with.

#2 Site Conditions

This one’s huge. The condition of the land can make or break your budget.

Let’s say your soil drains really well—that’s great. You might get away with a simpler system.

But if you’ve got heavy clay, or the soil holds water like a sponge, you’re probably going to need something more advanced.

You also have to think about what’s already on the property. Trees, utility lines, or old foundations can make excavation tougher.

And if your site is hard to access with equipment, labor costs are going to climb fast.

#3 Testing Requirements

Depending on your area and the size of your project, you may need soil testing, infiltration testing, or even environmental reports.

These tests help figure out how much water the land can absorb and the system needed.

None of this stuff is free. Basic soil testing might only cost a few hundred bucks, but more involved reports can reach into the thousands.

It’s just one more thing that can sneak up on your budget if you’re not expecting it.

#4 Local Stormwater Regulations

Every city and county has its own rules about stormwater management.

Some places are pretty laid-back. Others are strict and expect you to follow a checklist that includes volume control, water quality treatment, and runoff flow rates.

If your local government requires a ton of documentation, calculations, and system performance reports, you’ll be paying not just for the work, but also for the time it takes your engineer or contractor to get all the paperwork done.

And if they require inspections or reviews along the way, that’s going to be more fees.

What Affects The Cost Of Stormwater Management

Also Read: Septic Safe Toilet Paper

#5 Type Of System Installed

There are different types of systems, and what you install will affect stormwater management costs

Some are simple and sit right on the surface—like a rain garden or a bioswale. Others are tucked underground with tanks, pumps, or concrete vaults.

Here’s a quick breakdown of some common system types and their general cost levels:

  • Low cost: French drains, dry wells, swales
  • Mid-range: Rain gardens, permeable pavers, small detention areas
  • High-end: Underground storage tanks, advanced filtration units, engineered basins

The more water a system needs to hold or clean, the more you’ll be spending.

#6 Engineering And Design Costs

You’re not just paying for the materials and labor. You also have to cover the brains behind the design.

For simple residential projects, design might be included in your contractor’s quote. But for larger or commercial jobs, you’ll likely need a civil engineer to handle the layout, flow calculations, and permitting.

That can range from a few thousand dollars to tens of thousands depending on complexity.

It’s not something to skip, either. A bad design can cost you way more down the road if it fails or doesn’t pass inspection.

#7 Ongoing Maintenance

Once your system is in the ground and working, that’s not the end of the story. Stormwater setups need upkeep. How much depends on what you install.

Rain gardens and swales need weeding and occasional replanting. Filters need cleaning. Catch basins need to be cleared of debris. And detention systems might need annual inspections or pumping.

You could spend a couple hundred bucks a year on basic maintenance or a few thousand if your system is large or has moving parts.

Bottom Line

Stormwater management costs around $2,000 to $30,000 depending on what you’re working with.

The best thing you can do is get a site assessment, figure out what your property needs, and talk to a local pro who knows your area’s rules.

The cost might sting a little upfront, but dealing with poor drainage, flooding, or fines down the line is way worse. A good system keeps water in check, keeps your property safe, and checks the boxes for whatever the city throws your way.


How Much Does A Perc Test Cost In Virginia?

Thinking about building on land in Virginia? Planning a new home or maybe just adding a septic system? You’re probably going to need a perc test first.

It’s one of those small but super important steps that tells you if the soil can handle a septic system. It’s not the most exciting part of the process, but it’s a must.

In this post, we’ll shed some light on how much a perc test costs.

We’ll also go over the factors that affect the costs of perc testing, and we’ll also breakdown our prices.

Our Perc Testing Prices

At Soils-Inc, our perc testing services start at $1,000. That base price covers everything you need to get a solid understanding of your site’s septic potential

Here’s what’s included in that price:

  • Review of existing soil mapping
  • Analysis of topographic information
  • Check of available Health Department records
  • On-site investigation by our team
  • Up to five hand auger borings to evaluate soil conditions
  • Drainfield layout for future permitting

It’s a full-service approach built to make your next step – building, selling, or submitting for approval – as smooth as possible.

Check Out Our: Perc Test Services In Virginia

How Much Does A Perc Test Cost

A perc test costs anywhere from $200 to $3,000 in Virginia, depending on how it’s done.

If it’s a basic test using hand-dug holes, you’re probably looking at around $200 to $1,500. These are quicker, simpler tests and work well for smaller projects or where the ground is easy to dig.

How Much Does A Perc Test Cost

If the site needs a more in-depth test using an excavator to dig the holes, the cost jumps. Those tests usually land between $500 and $3,000 or more.

These are often required for larger lots, more complex soil conditions, or if the health department asks for a full soil study. The use of heavy equipment, plus extra time and expertise, adds to the overall price.

Factors That Affect The Cost Of A Perc Test

Okay, so we know the cost can range from a couple hundred bucks to close to two thousand. But why? It’s all about the specific conditions of your property and what the testing involves.

Let’s go through the main things that can bump up or drop down the price:

#1. Soil Conditions

Your soil type is probably the biggest factor in determining cost.

Some soils are easy to work with. Others are a real pain.

Sandy soil is usually the easiest and cheapest to test. The equipment goes through it like butter.

Clay soil is much tougher. It’s hard to dig through and takes longer to test. Rocky soil is even worse – sometimes they need special equipment just to get through it.

If your soil has a lot of roots, that adds time too.

Tree roots can really slow down the digging process. The contractor might need to bring different tools or spend extra time clearing the area first.

Also Read: How Much Does A Soil Test Cost?

#2. Site Characteristics

It’s not just the soil that can make things tricky. The layout of your land matters too.

A sloped or uneven lot can make it harder for the pros to get a good reading. They might need extra equipment or more time to do the test.

Some properties have wetlands or other sensitive areas that need special handling. This might require additional permits or careful planning around environmental restrictions. All of that adds to the cost.

So, if your land isn’t perfectly flat, expect to pay a little more.

On the other hand, a nice, flat plot will make the process a lot smoother—and cheaper.

#3. Type Of Test Required

There are different types of perc tests, and that affects the cost too, since some might be more involved than others, depending on your property and local regulations.

For example, there’s the traditional hole method (also called the “standard perc test”), which is more common and cheaper.

Factors That Affect The Cost Of A Perc Test

But in some areas, they may require more advanced testing, like a deep test, or a test that involves monitoring how long the water takes to drain at multiple depths.

These types of tests are more complicated, and naturally, they cost more.

#4. Number Of Test Holes

Most residential perc tests need between 2 to 4 test holes.

But larger properties or difficult sites might need more. Each additional hole adds to your cost.

The holes need to be strategically placed across your planned septic field area. If you have a big lot with multiple possible septic locations, you might need holes in several different spots.

More coverage means more holes, which means higher costs.

Some contractors charge per hole after a certain number. Others include a set number of holes in their base price.

Also Read: How Much Does A Septic System Cost?

#5. Labor And Equipment

The equipment needed for perc tests isn’t cheap to operate.

The test requires trained professionals to dig holes, monitor water levels, and take measurements. Plus, they use specialized equipment to ensure the test is done right.

If your property is in a hard-to-reach area or requires heavy machinery, that could raise the cost.

On the other hand, if your land is easily accessible and doesn’t need a lot of special equipment, you might be able to keep costs low.

#6. Weather Conditions

The weather in Virginia can be pretty unpredictable, and that can also affect the cost of your perc test. Heavy rain makes the ground too saturated for accurate testing.

Frozen ground in winter is another problem. Some contractors won’t even attempt tests when it’s too cold. Others might charge extra for winter work because it’s more difficult.

If you’re scheduling a perc test in the winter or during heavy rain season, be prepared for some extra unpredictability in the price.

The best time for perc tests is in the summer.

#7. Local Regulations And Permits

Different counties and localities in Virginia have their own rules for percolation testing.

Some areas might require additional permits or inspections, which can add to the cost. Others might have very specific rules on how the test should be conducted, which could affect the equipment or methods used.

Before you get too far into the process, it’s a good idea to check with your local health department or zoning office to find out exactly what’s needed.

Sometimes, you might need to factor in permit fees or other extra charges.

Bottom Line

A perc test costs around $200 – $3000 in Virginia. Hand dug hole perc test usually cost anywhere between  $200 – $1,500 and excavator-dug hole perc test costs $500 – $3,000+.

If your soil is tricky, the land is uneven, or you need multiple test holes, it’s likely to be on the higher end.

If you’ve got a flat, simple lot with easy-to-drain soil, you’ll probably pay less.

The good news is that a perc test is a one-time expense, and it’s essential if you’re installing a septic system. Plus, getting it done right the first time can save you from bigger headaches down the road.

If you’re not sure about the specifics for your property, it’s always a good idea to call a pro.

They can give you a more tailored estimate and explain the exact process for your area.

What Soil To Use For Grading Around House? (Solved)

If you’ve noticed water pooling near your foundation, chances are your yard needs some grading.

It’s not the most glamorous project, but it makes a big difference in keeping water away from your house. And it all starts with using the right soil.

There’s a bit more to it than just tossing dirt around. Some soils are perfect for shaping and sloping, while others can create drainage problems, foundation damage, or constant rework.

In this post, we’ll shed some light on what soil to use for grading around house.

#1 Fill Dirt

Fill dirt should be your base layer. Think of it as the foundation before the foundation.

Fill dirt doesn’t have a lot of organic material in it, which is exactly what you want. That means it won’t settle or shift much over time. It’s solid, compact, and does its job.

This makes it perfect for getting a good solid base before you add other layers.

Use it to build up low spots or shape the slope away from your home.

Just be sure it’s clean fill dirt – meaning no trash, no roots, no chunks of concrete or random junk. Some people try to save money by using whatever they can find, but that can cause more problems than it solves.

Soil Used For Grading Around House

Also Read: How Much Does A Soil Test Cost In Virginia?

#2 Loam

Loam is a nice blend of sand, silt, and a little clay. The texture is soft, but it holds its shape and drains well.

Loam’s biggest perk is how balanced it is. Not too dry, not too sticky, and great for supporting plants and grass once your grading is done.

Now, you wouldn’t want to use loam all the way through your grading project as it’s not stable enough to be the base, but it makes a great transition layer between your compact fill dirt and the top layer.

Plus, if you’re planning to lay down grass or do any landscaping, loam gives it a strong, healthy star

#3 Gravel Or Crushed Stone (For Drainage Layers)

This one’s not always necessary, but it can be helpful if drainage is an issue.

Adding a layer of gravel or crushed stone underneath or mixed into your fill can really help water move away from your home. It keeps water from pooling near your foundation, which is exactly what you’re trying to avoid.

Gravel works well in areas where water collects or where the ground just doesn’t drain easily.

Just don’t overdo it. Too much stone can make it tough to grow anything on top.

#4 Topsoil (For Final Layer)

Topsoil comes last. It’s the cherry on top of your grading project.

After you’ve shaped your grade with fill dirt and maybe a bit of loam, you’ll want to add a couple of inches of topsoil over the top.

This is what your grass will grow in. It’s rich in nutrients and easy to work with.

But here’s the catch – topsoil isn’t stable. You don’t want to build your whole slope out of it. That’s asking for sinking, settling, and a bunch of rework later.

Use just enough to get a good seed bed and help prevent erosion.

A nice, even layer about 2 to 6 inches thick should do the trick.

Also Read: Can I Cover My Septic Tank Lid?

Soil Types To Avoid For Grading

It’s just as important to know what not to use as it is to know what’s good. Some soils are just plain trouble when it comes to grading. Here’s a quick list of the ones to skip:

Expansive Clay Soils

Expansive clay is a big no-no. This type of soil swells when it gets wet and shrinks when it dries.

Imagine that happening around your foundation!

It can cause the ground to shift, which isn’t something you want happening near the walls of your house. Over time, this could lead to cracks or settling issues in your foundation.

It also drains slowly, which means water can sit near your house longer than it should.

If you’ve ever dug into clay and found a soggy mess days after it rained, you know what we’re talking about.

Soil Types To Avoid For Grading

Peat Or High-Organic Soils

Peat and high-organic soils are typically too loose and spongy for grading. Sure, they’re great for gardening and can hold a ton of moisture, but they don’t provide the stability needed for grading.

Over time, these soils break down and lose their structure, which can create uneven areas around your house.

That could result in water pooling near your foundation – exactly what you’re trying to avoid.

Unscreened Fill With Debris

You might think that using a bunch of leftover dirt from somewhere else could save you a few bucks. But, trust us, unscreened fill with debris is a headache waiting to happen.

It could contain rocks, roots, garbage, or other materials that make it difficult to compact properly. This could lead to an unstable surface and uneven settling later.

It’s just not worth the trouble.

If you want a solid foundation for grading, stick with quality materials.

Bagged Topsoil

Bagged topsoil might seem like a convenient option. It’s tidy, easy to handle, and you can pick it up at almost any store. But it’s not built for grading.

Most of what you find in those bags is full of compost or organic matter meant to help plants grow – not to build a slope.

Over time, that organic stuff breaks down and causes the soil to shrink or settle. You could end up regrading the same area over and over. On top of that, using bagged topsoil in bulk gets expensive fast.

Use it in gardens or flower beds, but leave it out of your grading plan.

Also Read: How Much Does It Cost To Pump A Septic Tank In Virginia

Gardening Mixes With Peat Or Mulch

If it says “potting mix” or “garden soil,” skip it for grading.

Gardening mixes that contain peat or mulch are best for flower beds or potted plants, not for grading. These blends are designed to hold water and stay fluffy. That’s the opposite of what you want near your house.

Plus they don’t compact well and don’t drain efficiently either.

Great for plants. Terrible for slope control.

Over time, they break down and settle, which can lead to erosion or uneven ground.

Bottom Line

Grading around your house might sound like a lot of work, but it’s totally worth it.

Use fill dirt to shape the slope, add loam if you want something plant-friendly, and finish off with a layer of topsoil. If drainage is tricky, toss in some gravel underneath.

Stick to these solid, compactable materials and stay far away from anything that holds water, breaks down, or contains random junk.

A little planning now can save you from soggy basements and cracked foundations later.

Septic Safe Toilet Paper (6 Brands We Recommend)

If you’ve got a septic system, you probably know that you can’t just flush any kind of toilet paper. The wrong kind can clog things up, making things a bit… messy.

But no worries! Finding septic safe toilet paper isn’t as hard as it seems.

In this post, we’ve rounded up some of the best brands to keep your plumbing happy and your home, well, not flooded.

What Kind Of Toilet Paper Is Septic Safe?

Septic systems need a little extra care, and the wrong toilet paper can cause serious problems.

Some toilet papers take forever to break down, which can lead to clogs, backups, and costly plumbing repairs. The best septic safe toilet papers dissolve quickly and don’t contain a bunch of harsh chemicals that can mess with your system.

So, if you’re looking for something that won’t give your pipes a hard time, here’s what to keep in mind:

  • It should break down fast so it won’t clog your pipes or tank. The quicker it dissolves, the less likely it is to cause buildup.
  • Fewer chemicals are better. Some toilet papers are packed with dyes, fragrances, and bleach, which aren’t great for septic tanks or the environment.
  • Recycled paper tends to be a safer bet. It’s usually thinner and breaks apart more easily, making it a solid choice for septic systems.

Also Read: Is Lysol Toilet Bowl Cleaner Safe For Septic Systems?

You basically want something that’s soft enough to use but won’t stick around in your plumbing.

Toilet Paper Holding In Bathroom Septic Safe Toilet Paper

6 Septic Safe Toilet Papers

Here are 6 toilet papers that are ok for your septic systems and perfectly safe to use:

#1 Caboo Tree-Free Bamboo Toilet Paper

Caboo Tree-Free Bamboo Toilet Paper is the BEST septic safe toilet paper.

It’s made from bamboo and sugarcane, so it’s tree-free. Bamboo is naturally sustainable and grows quickly, which makes it an eco-friendly choice for anyone concerned about their environmental footprint.

But it’s also really soft and strong, which is a hard balance to strike. You get that smooth, soft texture, but it’s strong enough not to fall apart too quickly.

And it’s fully biodegradable too, so it’s perfect for septic systems.

If you’re trying to keep things green while also being kind to your plumbing, Caboo is a solid pick. Plus, the packaging is recyclable, so you’re doing good by Mother Earth, too.

Also Read: How Much Does A Septic System Cost In Virginia?

#2 Scott Rapid Dissolving Toilet Paper

Next, we’ve got Scott Rapid Dissolving Toilet Paper. This one’s pretty much made for septic systems, RVs, and places where plumbing is a little… delicate.

Scott’s dissolves super fast, which helps prevent clogs and blockages in your septic tank.

If you’ve got a sensitive plumbing system, this might be your best bet.

It’s soft, strong, and—best of all—designed to break down rapidly when it hits water. So no worrying about it lingering in the pipes. It’s a simple, no-frills option that gets the job done without a lot of fanfare.

Just be warned: it’s not as plush as some of the others, but if you need something dependable and septic-friendly, Scott’s got you covered.

#3 Seventh Generation White Toilet Paper

Seventh Generation White Toilet Paper is another excellent septic safe toilet paper.

It’s made from 100% recycled paper, so it’s a great choice for those who want to go green while still being gentle on their plumbing. Seventh Generation also doesn’t use dyes or fragrances, so it is a good choice for people with sensitive skin.

The paper is a little rougher than some other brands, but it still gets the job done, and it’s definitely easier on your septic system.

If you’re someone who values sustainability, this brand’s commitment to using recycled materials is a big win. Plus, it’s soft enough for daily use, just not as plush as, say, Cottonelle or Quilted Northern.

If you’re prioritizing a balance of eco-friendliness and septic safety, this one’s a winner.

Also Read: How Much Does It Cost To Pump A Septic Tank In Virginia?

#4 Angel Soft Toilet Paper

Angel Soft is a crowd favorite for a reason. It’s soft, strong, and affordable.

It’s a decent pick if you’re looking for something that’s septic-safe and still gives you that soft, cushiony feeling. It’s a blend of virgin and recycled fibers, which means it’s not all eco-friendly but still has some sustainable aspects.

Angel Soft is not marketed specifically as septic safe toilet paper, but it breaks down fast enough to keep things running smoothly and works well in most systems.

If you’re looking for something that feels a little more luxurious than Scott, Angel Soft is a good bet.

#5 Cottonelle Ultra Comfortcare Toilet Paper

Cottonelle Ultra Comfortcare is known for its plush texture and strong durability. It’s soft, absorbs well, and is generally pretty comfortable.

The downside? It’s made from virgin wood pulp, which isn’t the best for the environment, but Cottonelle does try to incorporate some recycled materials.

On the septic front, it’s a solid option since it dissolves fairly quickly and doesn’t clog up your system.

While it’s not the most eco-friendly choice, Cottonelle is a safe bet if you want something that’s reliable and gentle on your plumbing.

It’s not quite as septic-friendly as some of the others on this list, but if you’re looking for comfort and convenience, Cottonelle gets the job done.

Also Read: Copper Sulfate For Septic Tanks

#6 Quilted Northern Ultra Soft & Strong Toilet Paper

Quilted Northern Ultra Soft & Strong Toilet Paper is another classic.

This is great for people who love a softer, cushier feel. It’s got that quilted texture that’s luxurious to the touch, and it’s pretty strong too, meaning it holds up without falling apart.

However, it’s made from virgin wood pulp too.

That said, Quilted Northern has made strides in sustainability by sourcing paper from responsible suppliers.

From a septic perspective, it’s not the absolute best out there, but it does break down well enough to avoid serious issues with your pipes.

If you’re looking for something that balances comfort and performance without overthinking the eco-factor, this is a solid choice.

Bottom Line

And there you have it – 6 septic-safe toilet papers that won’t clog up your pipes.

From eco-friendly options like Caboo and Seventh Generation to more comfortable picks like Cottonelle and Quilted Northern, there’s something for everyone.

So go ahead, and give some of these brands a try!